How to add Cloudflare SSL to a WordPress website
21 Sep 2017Why SSL?
Google Search and Google Chrome are making it more and more unattractive to still have an HTTP (insecure) website, and are pushing publishers to go “HTTPS Always & Everywhere“. Offering HTTPS used to require an expensive SSL certificate, but thanks to Cloudflare and Let’sEncrypt, this is not longer the case. Here follow the steps you should take if you have a self-hosted WordPress site and you want to add Cloudflare SSL.
The steps to take
- set up your Cloudflare account
- Select the ‘Free plan’
- let Cloudflare scan your top domain DNS settings
- make sure your blog domain goes through Cloudflare

- change your DNS nameservers
- Cloudflare will propose the new names of your DNS servers
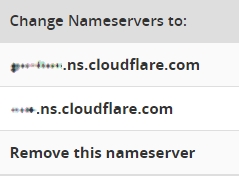
- Configure these in the admin interface of your domain name service (tip: if you want to know what they are now, use the tool dnscheck.pingdom.com)
- Cloudflare will propose the new names of your DNS servers
- WP plugin: Cloudflare
- add new plugin (search on ‘cloudflare’)

- get your Cloudflare API key: go to your Cloudflare profile page and copy the Global API Key
- configure plugin: fill in your email, paste your API key and save API credentials
- click ‘Optimize Cloudflare for WordPress’
- add new plugin (search on ‘cloudflare’)
- WP plugin: HTTP / HTTPS Remover
- Add new plugin (search on ‘https’)

this will replace the “http://” in front of your images into “//” which is the correct way to work in both https and http
- Add new plugin (search on ‘https’)
- WP plugin: Disable Emoji (optional)
- Add new plugin (search on ‘disable emoji’)

because otherwise this one .js file will keep on popping up as the 1 file you still keep fetching over http. If you really need emoji recognition in your text, then skip this step.
- Add new plugin (search on ‘disable emoji’)
- enable Cloudflare SSL
- Wait for your SSL certificate in Cloudflare
it will go from this

to this

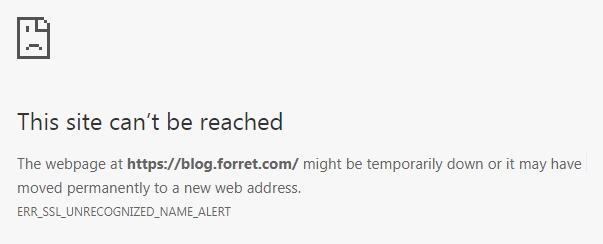
While there is no certificate yet, you will get the following error if you try to use https anyway (in Chrome):
- Crypto settings
- SSL: Flexible (or Full, Cloudflare will normally detect this correctly)
- Enable “Always use HTTPS”

- Enable “Automatic HTTPS Rewrites”

- Wait for your SSL certificate in Cloudflare
- check your SSL settings
- Enter your blog domain name in toolstud.io HTTPS Readiness check