Making the Pixel Movie Quiz
07 May 2020Imagemagick is a command-line tool to create and modify image files. It is an essential program if you want to work with media files (just like ffmpeg and sox). I have used it very often in my career and I still discover new applications. This blog post is about one of these experiments. How few pixels does one need to recognise a familiar/known image, in this case a movie poster? I created the Pixel Movie Quiz.
Pixelized movie posters
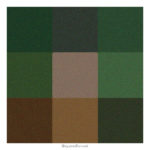 Guess the movie? (3 x 3 pixels)
 This is a 3×3 pixel version of a movie poster. Can you guess which movie? A lot of my friends could guess this one, from just 9 pixels! Do you need some more?
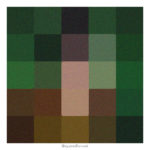 Guess the movie (5 x 5 pixels)
 Still no? Try stepping back from your screen, and squinting your eyes. Ok, I’ll give you 9 x 9 pixels, and if you still don’t recognise the poster, you probably don’t know the movie.
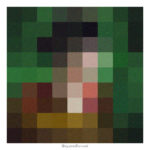 Guess the movie (9 x 9 pixels)
 Yes! That beautiful saturated red and green, that is indeed the French classic Le Fabuleux Destin D’Amélie Poulain or in short Amélie (2001).
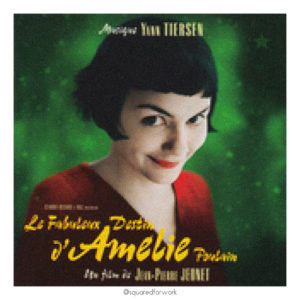 Amélie (2001) - 160 x 160 pixels
 Isn’t it amazing that your brain can sometimes get enough out of 9 (3 x 3) pixels to recognise an image? It actually works a bit counterintuitive: if you want a better view, you don’t zoom in, but you have to zoom out. Let’s try some more, but keep your phone at arm’s length (if you’re on mobile) or move 4 steps away from your laptop screen.
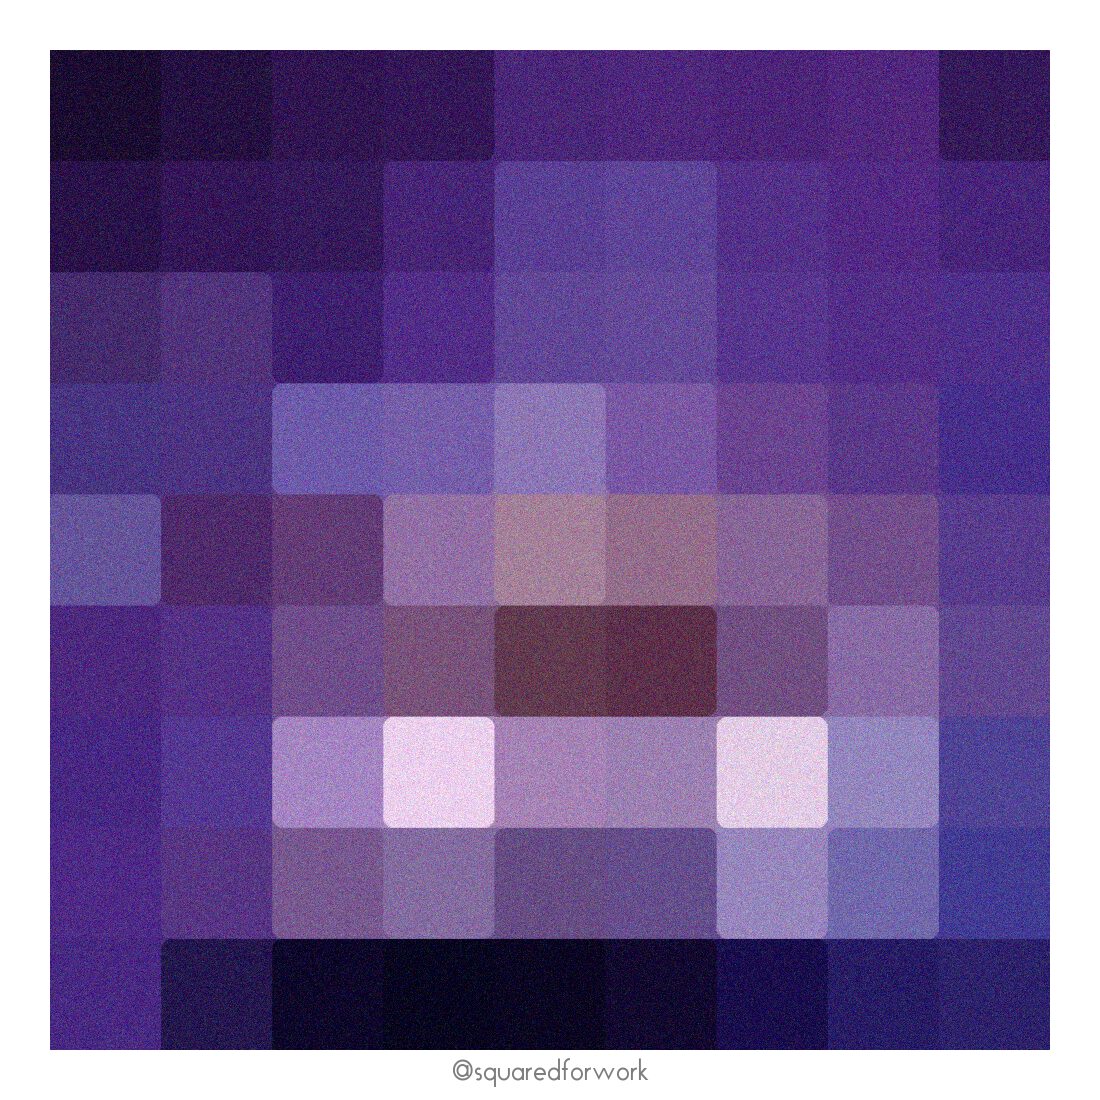
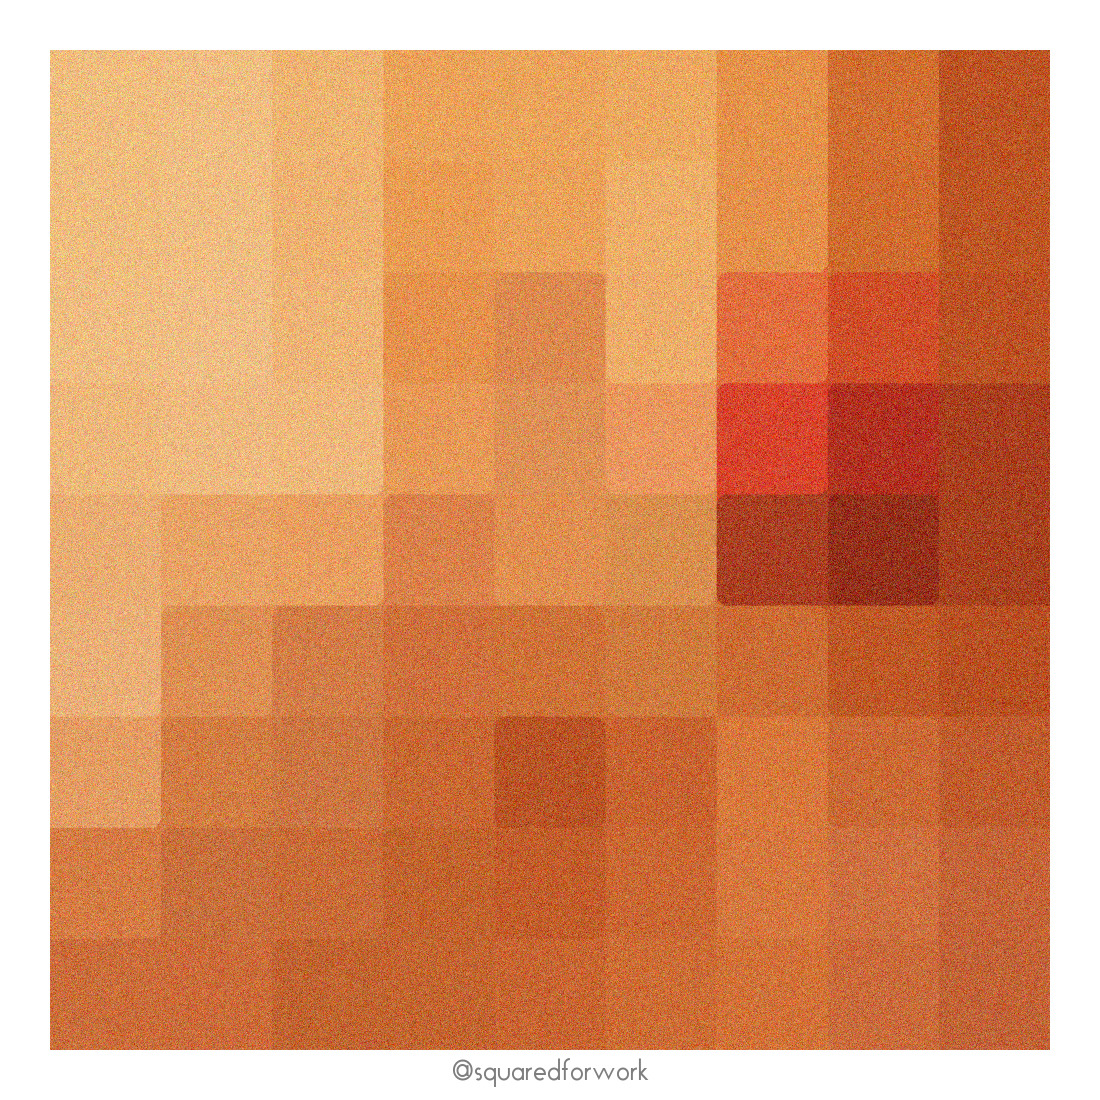
Or if that’s too hard:
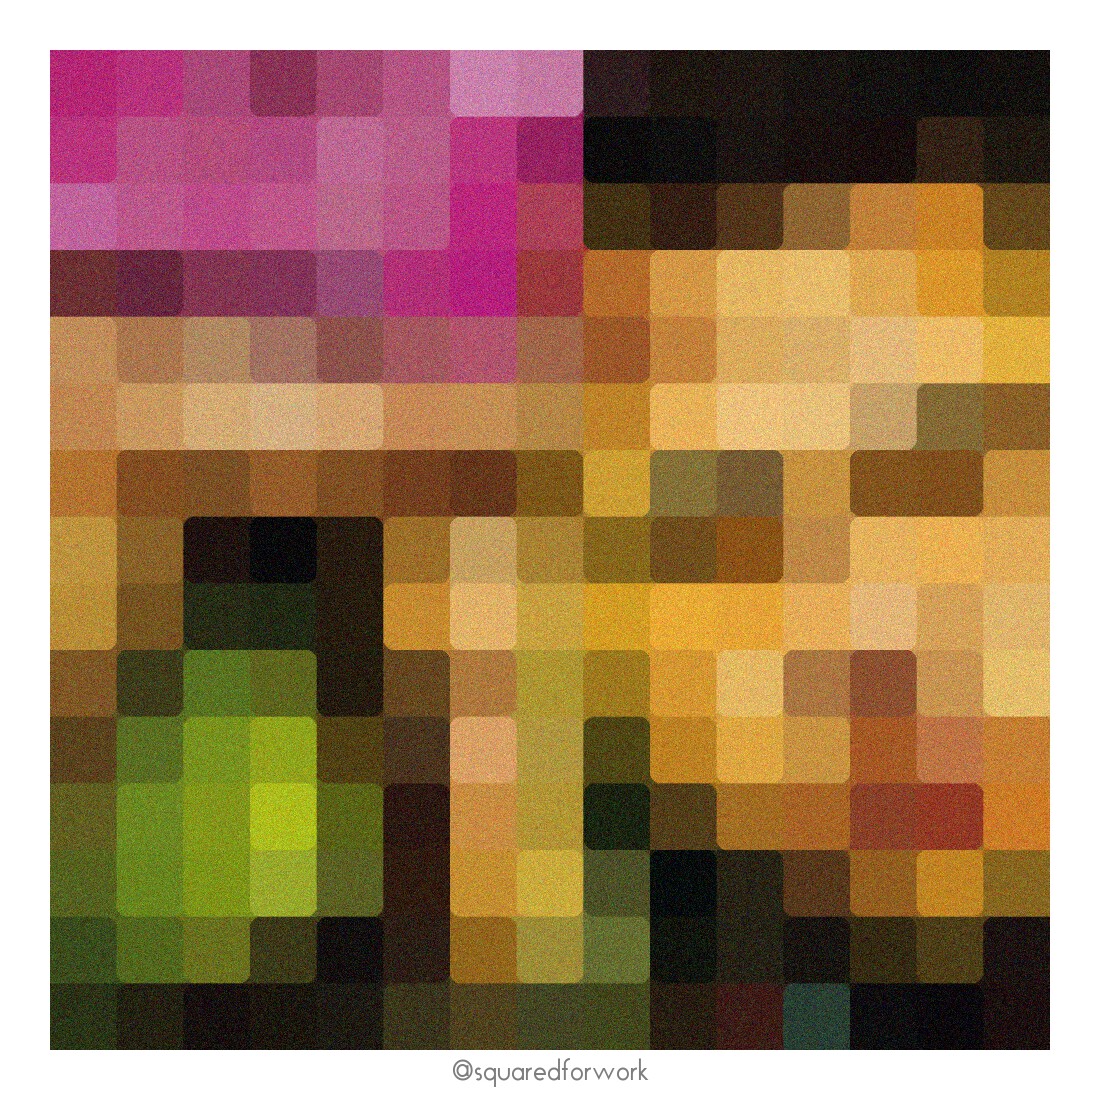
Answers: The Martian, Fight Club, Aladdin, American Beauty.
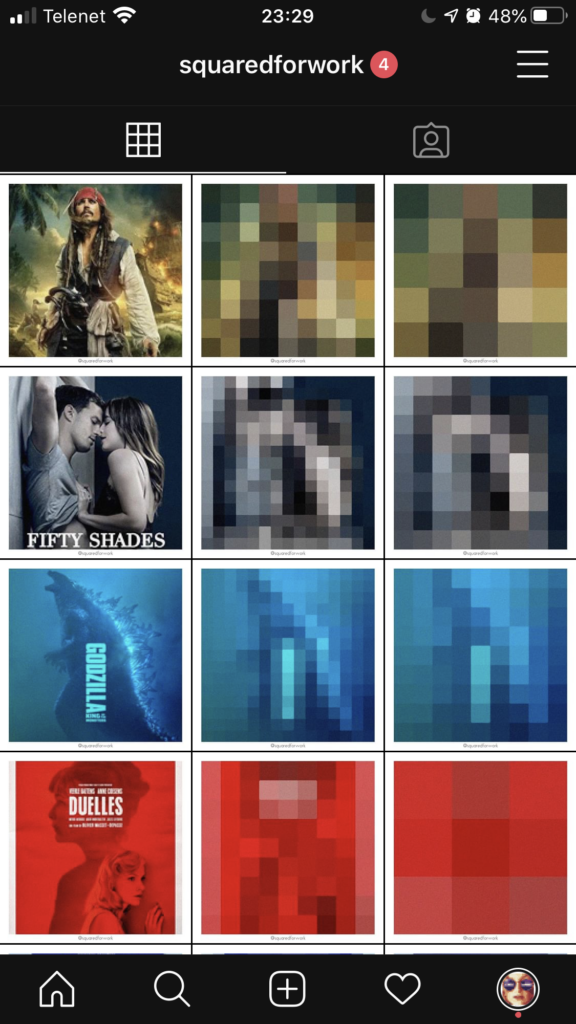
Because I enjoyed it so much to see how few pixels were enough, I automated the process, and used that to create an Instagram Pixel Movie Quiz!
My script
As I said in the beginning of this post, my main tool was ImageMagick. I use it to reduce the number of pixels, then resize it back to a bigger picture, add some smoothing and some grain. I used my bash boilerplate generator to create a wrapper script that works like this:
### Program: sfw_generate.sh by peter@forret.com
### Version: v1.1 - May  4 18:18:03 2020
### Usage: sfw_generate.sh [-v] [-b] [-n] [-o  <out>] [-t  <tmp>]
           [-c <color>] [-g <grain>] [-l <large>] [-m <median>]
           [-p <pix>] [-w <width>] [-s <sub>] [-f <font>] [-d <dur>]
           [-r <rate>] [-e <step>]
           <action>  <file> [ <...>]
### Flags, options and parameters:
    -v|--verbose   : [flag] more output [default: off]
    -b|--bw        : [flag] convert to B/W [default: off]
    -n|--norm      : [flag] normalize brightness [default: off]
    -o|--out <val> : [optn] folder for output  [default: -]
    -t|--tmp <val> : [optn] folder for temp items  [default: .tmp]
    -c|--color <val>: [optn] reduce colors  [default: -1]
    -g|--grain <val>: [optn] add film grain  [default: 5]
    -l|--large <val>: [optn] large size in px  [default: 1000]
    -m|--median <val>: [optn] median filter in pixels [default: auto]
    -p|--pix <val>: [optn] min resolution in px  [default: 80]
    -w|--width <val>: [optn] frame border width in px  [default: 0]
    -s|--sub <val>: [optn] subtitle
    -f|--font <val>: [optn] font to use  [default: GeoRegular.ttf]
    -d|--dur <val>: [optn] duration (for video)  [default: 2]
    -r|--rate <val>: [optn] framerate for video  [default: 8]
    -e|--step <val>: [optn] increment per frame  [default: 2]
    <action> : [parameter] action to perform: image/video
    <file>   : [parameter] file(s) to perform on (1 or more)</pre>
I then made a second bash script (a “wrapper for the wrapper”) that makes all the right sizes for one given poster image: 5 x 5 pixels, 9 x 9 pixels, etc.
My workflow
- look for (semi-) famous movie posters
- create all the reduced pixel versions with the script I mentioned above
- choose 2 photos to use as ‘1st hint’ and ‘2nd hint’ (most of the times it’s 5×5 and then 9×9, but for really difficult ones I might start with 9×9 and use a 15×15 afterwards)
- put these 2 photos and a high resolution picture (150×150 pix) in a Buffer queue.
- the 3 images are published at 11am, 11:30am, 12:30pm and then another batch at 5pm, 5:30pm, 6:30pm (so I need 2 movie posters per day)
- the pictures are published on instagram.com/squaredforwork/
- they are automatically reposted (a bit later) on facebook.com/squaredforwork/ via ifttt.
 The Instagram Pixel Movie Quiz