How to do a remote portrait photo shoot
30 May 2020COVID19 has had a huge impact of pretty much everything. For portrait photography, the 6-feet-apart, no-travelling, use-mouth-mask lockdown had made it almost impossible to do an in-person photo shoot. But every limit is also a challenge, Is it possible to do an interesting remote shoot via the internet? The answer is yes. I will give you some tips on how to do this.
This article only talks about a ‘simple’ remote portrait photo shoot: 1 or 2 models, 1 photographer, with smartphone or tablet camera, no studio lighting, no DSLR, no assistant, no remote triggering, no tethering setup.
Preparing the remote shoot
- Timing: check where the windows are in the place you will shoot and when they get light during the day. This is of crucial importance for the timing of the shoot. Also look for nice shadows: long hallways, the presence of curtains, window blinds. The model could take photos at different moments of the day to get a better feel for this.
- Mood board: the model and photographer can collect and share a number of photos they find interesting/inspiring. Make it aspirational but realistic. Don’t add complicated yoga poses if your model is not a yoga fanatic, Don’t add Vanity Fair photos that were shot with a crew of 8 and $20K of lighting equipment. Don’t add photos that can only be taken with pro equipment (like a f/1.2 lens)
- Application: there are several options for the video connection.
- Facetime: iPhone/iPad/Macbook devices only. Allows for FaceTime Live photos, so the face of the photographer is not in the photos afterwards. Typical resolution: 852×1280 HEIC photos, +- 1 megapixel, with files smaller than 100KB(!). HEIC files can not be read by every software, so test it first.
- Messenger: only requires a Facebook account from both parties. The photographer can work from a laptop where they resize the screen in such a way that their own photo is not in the way. I did this one of my first times, I took screenshots (Shift-Apple-3 on MacOS) that were 2560×1440, of which 818×1364 was of the model. The resulting photos (after cropping) were 1MB PNG files.
- WhatsApp: requires both parties to have a WhatsApp account. Only works between mobile devices. The thumbnail of the photographer will always be in the screenshot.
- Zoom: only one of the participants needs a Zoom account, preferably a paid one, otherwise the shoot cannot last longer than 40 minutes. With a paid subscription the whole shoot can be saved as a video.
- (Microsoft) Teams: similar to Zoom.
Hardware: the (phone) camera
In most cases, the model will use a mobile phone (or tablet) to capture the images. This is quite different from a ‘real’ DSLR or system camera, with advantages and drawbacks. Let’s see how we can work with this camera phone.
Hold your phone in your hand
Obviously the easiest thing to do is for the model to hold the phone in their hand, directly or with a selfie stick.
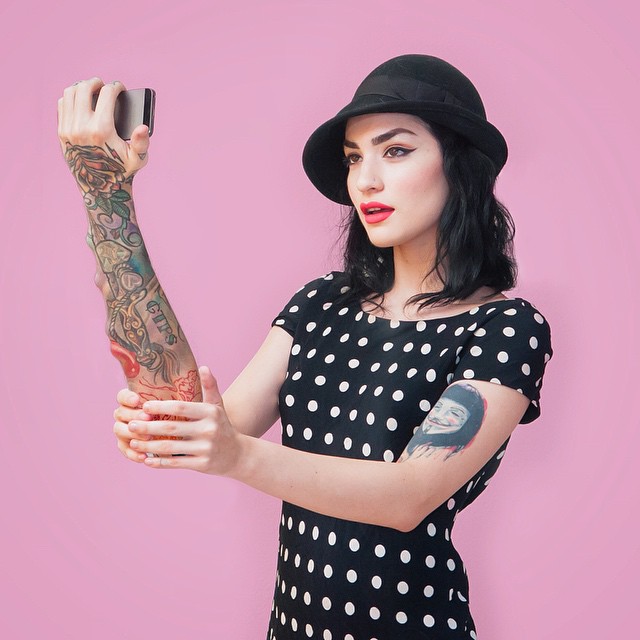
https://www.instagram.com/p/3cNIHxyB6t/
But this limits the distance between model and camera (no full body shots), it limits the movement and makes some shots impossible. So let’s look at how the phone can be positioned so that the model does not need to hold it.
Let your phone stand
There are lots of options to hold your phone up so the camera is pointing horizontally. You can buy a mini tripod (3 static feet, less than 30cm/1 foot high), gorillapod (the feet can bend), a real tripod (up to 2m high), or you can DIY some solution out of a cup or some old credit cards.
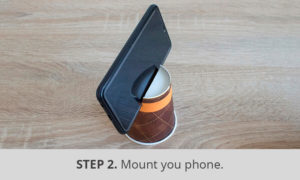 DIY Cup holder
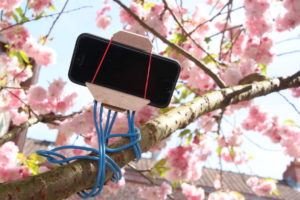 DIY Wires
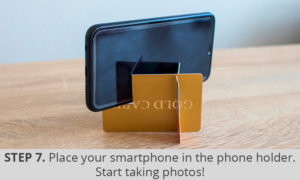 DIY Plastic cards
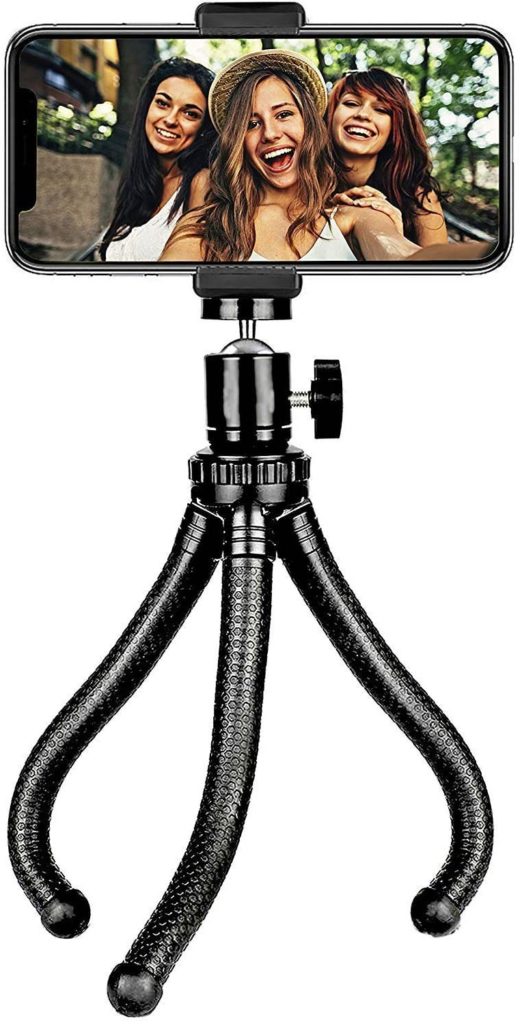 Tripod
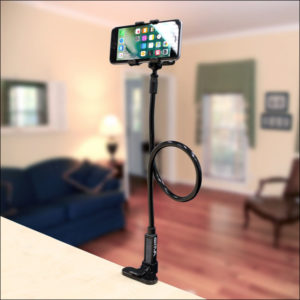 Gooseneck
The phone holder can stand on a table, a window sill, a cupboard, a rack or the floor. It can tilt downwards or upwards.
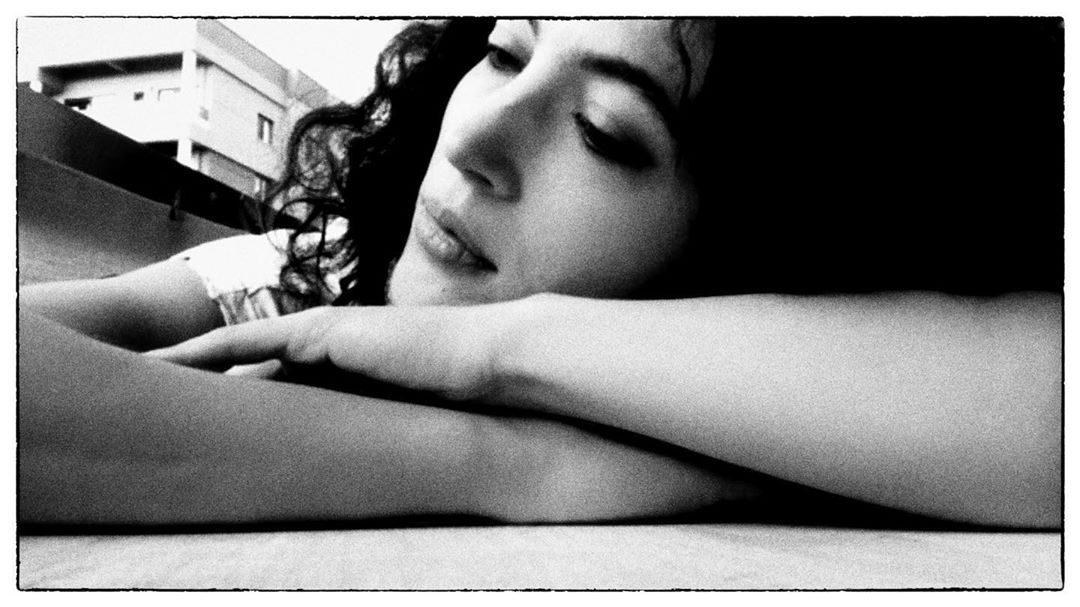
Let your phone hang
Your phone can be hung from the top of a door, or the door handle. This is something that is easy to do with a piece of rope, a clothes hanger and/or some gaffer tape. The advantage is that you can more easily take portraits on eye height.
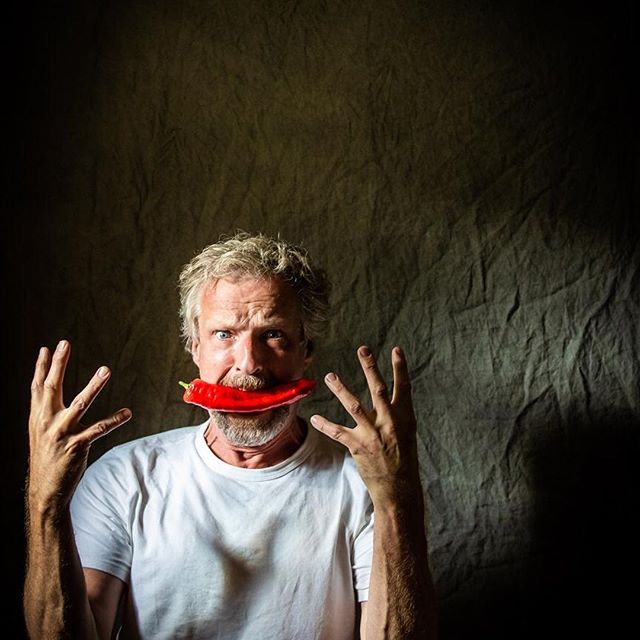
Let your phone lie down
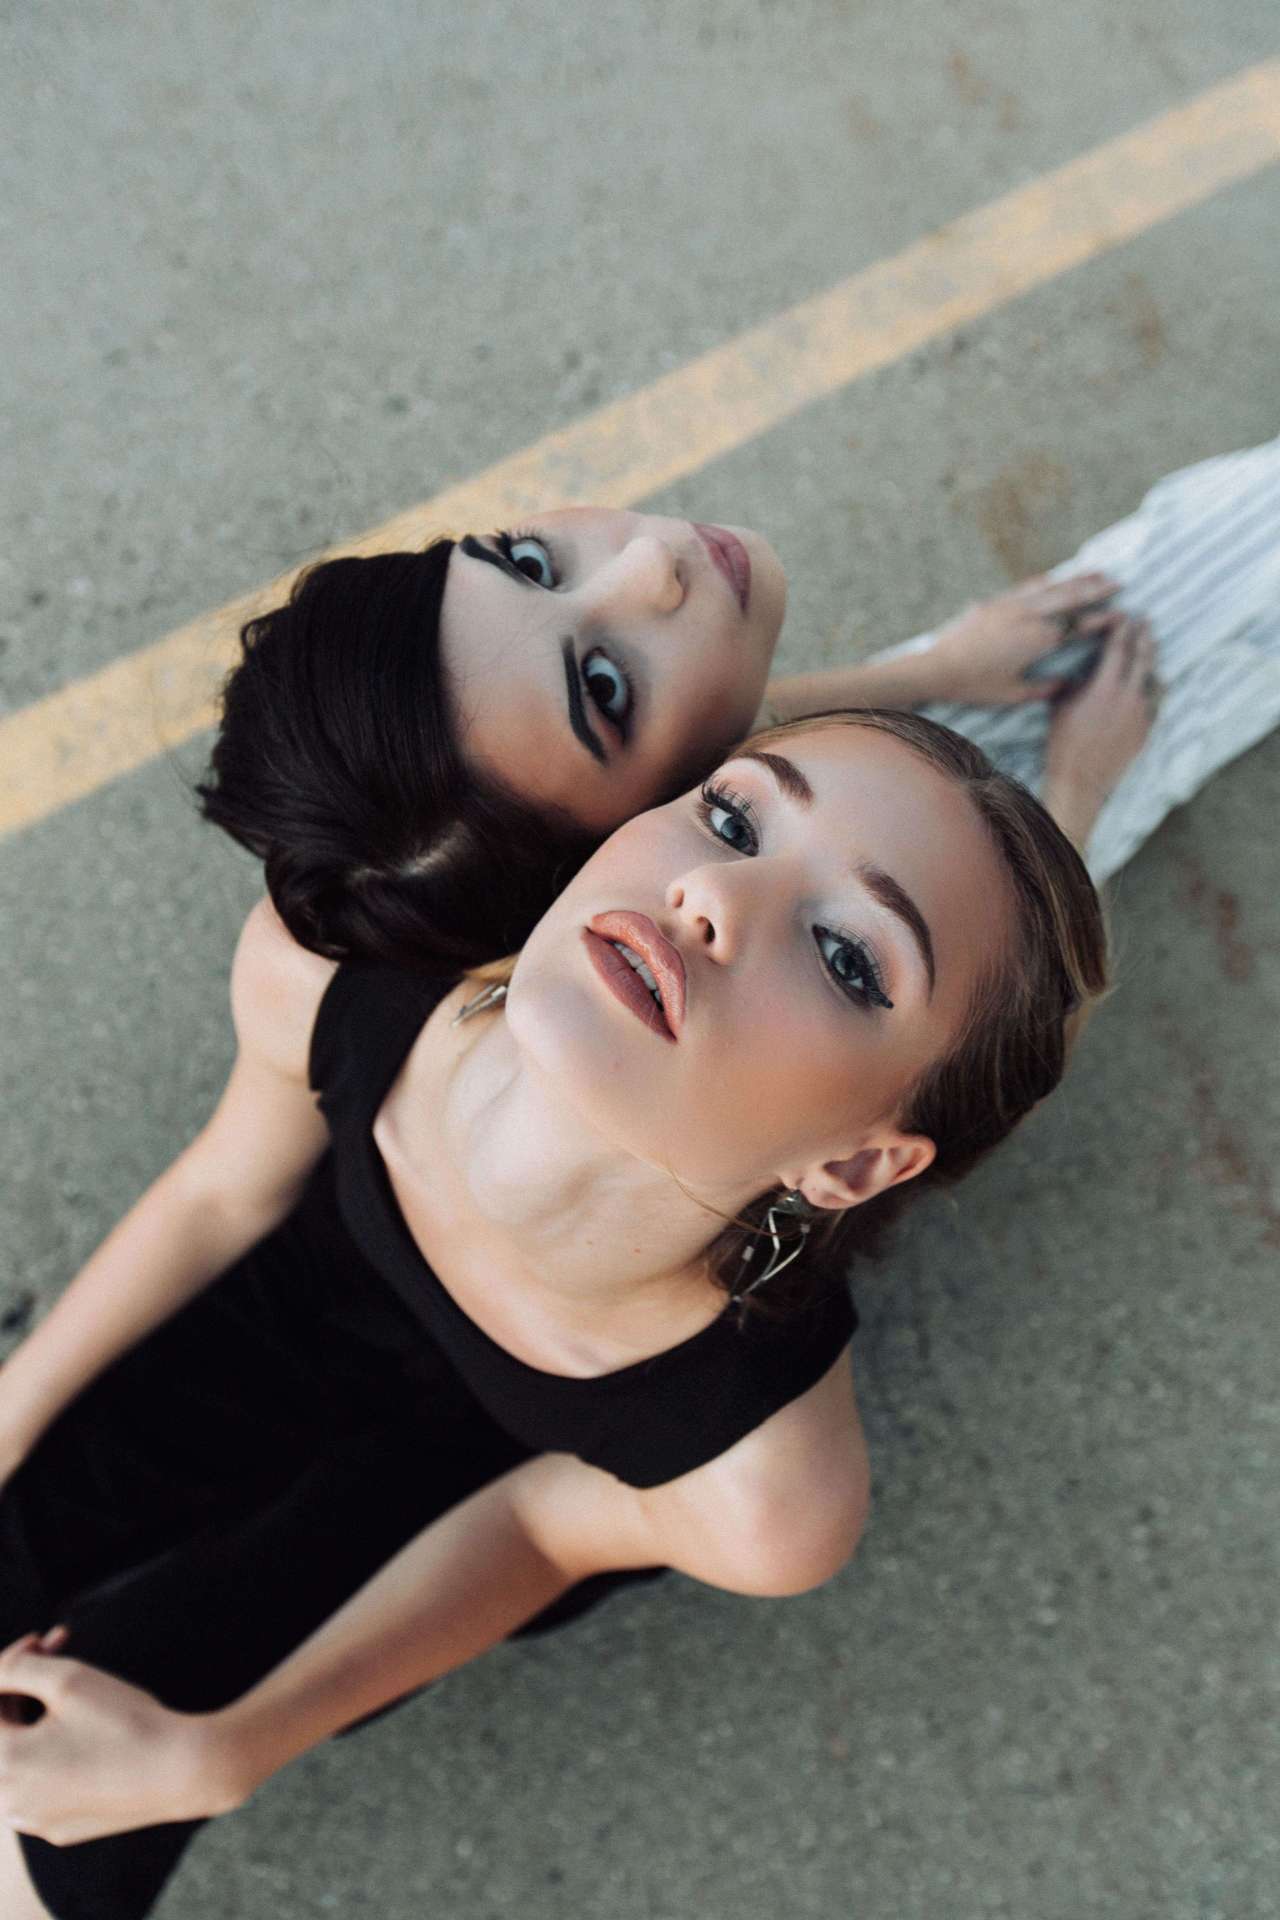
Your phone can lie on its back and shoot up. This allows for hand stand, dynamic jump, step shots or original background for a face shot (i.e. the ceiling).
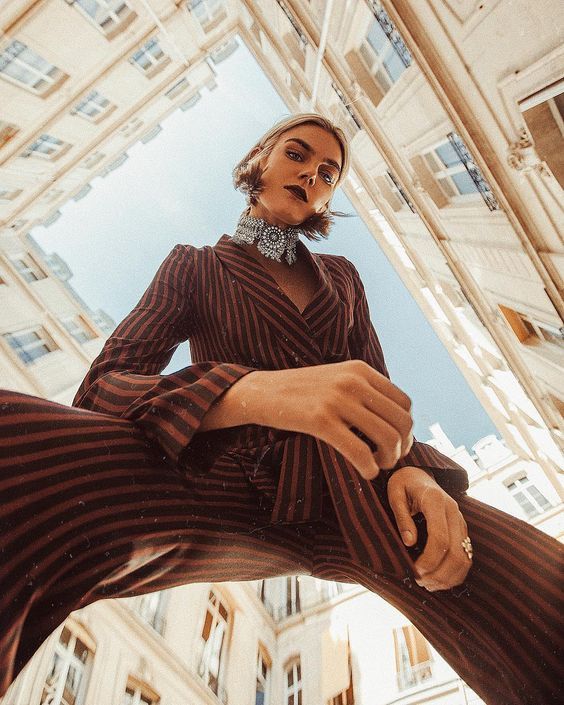
The opposite is also possible: lie your phone flat down on a glass table or other surface and position yourself underneath. Another option would be to tape it to the ceiling.
The remote shoot: the model
Communication: the model
A remote portrait photo shoot requires a lot of communication, and 90% of this communication will be verbal, so it is very important that both parties understand each other well, Wearing headphones is not possible for the model. One Airpod/Galaxy Bud might be an option, but then the model has to keep in mind to always hide one side of the head.
 https://www.instagram.com/p/CAwtQ1Lg7kZ/
A better option is to use a Bluetooth speaker. It carries more sound than the flimsy speaker of the phone itself, and it can easily be positioned outside the frame. Just make sure that your microphone still works OK. Test it beforehand with a friend.
Garderobe
Having your wardrobe next to you is a big plus for home shoots. It is still a good idea to prepare some pieces before the shoot. Try to work with the mood board that you both contribute to before the shoot, so that you have similar expectations.
Lighting
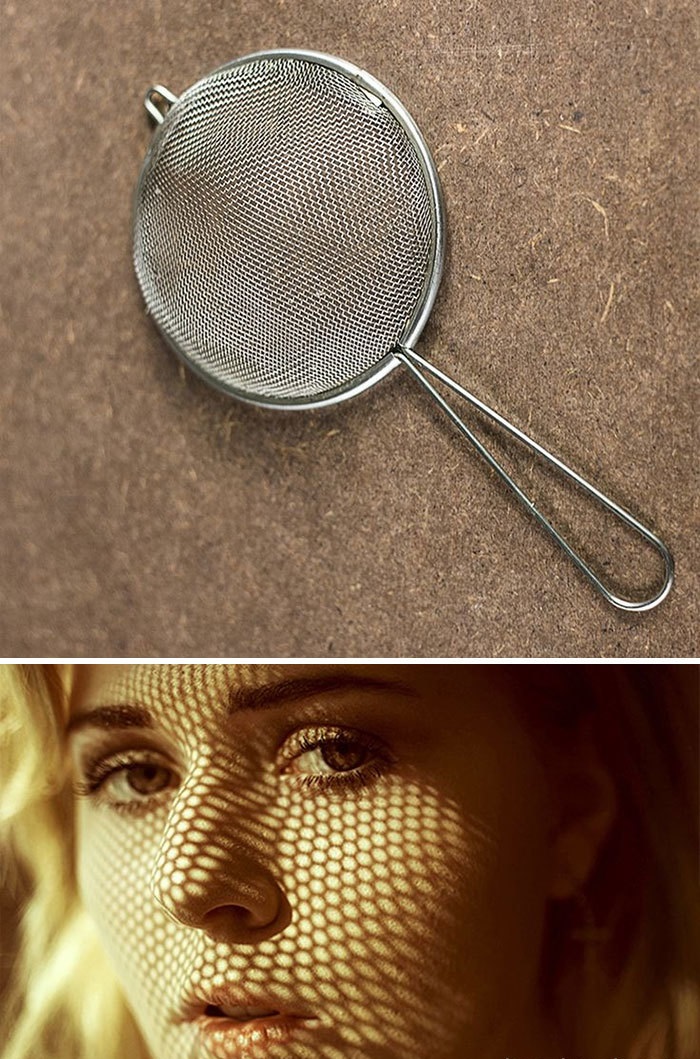
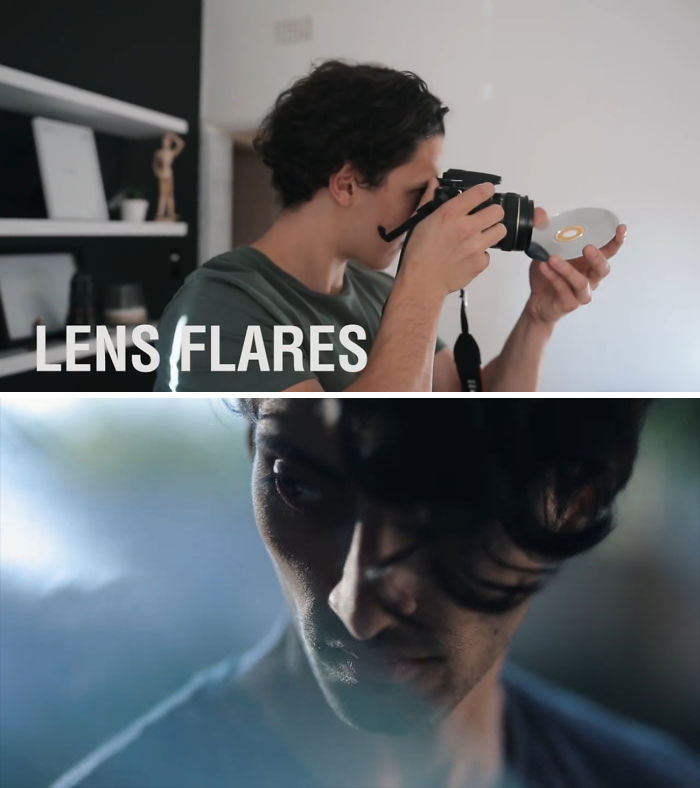
For most remote shoots, you need good natural light, and you will have to choose the right day and hour for that to be optimal. The model can also use (DIY) light modifiers, to reflect, cut off or color the light. Examples: are curtains, mirrors, white sheets, kitchen equipment (sieve, grill), garden equipment (rake), cardboard, CD/DVD, plastic bags
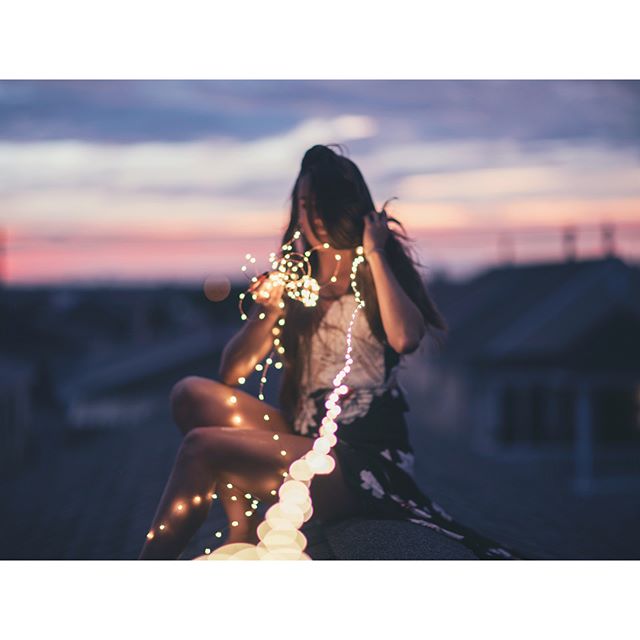
The model can also use extra light sources, like a flame/lighter, the flash of another phone, a flash light, a desk lamp, string lights.
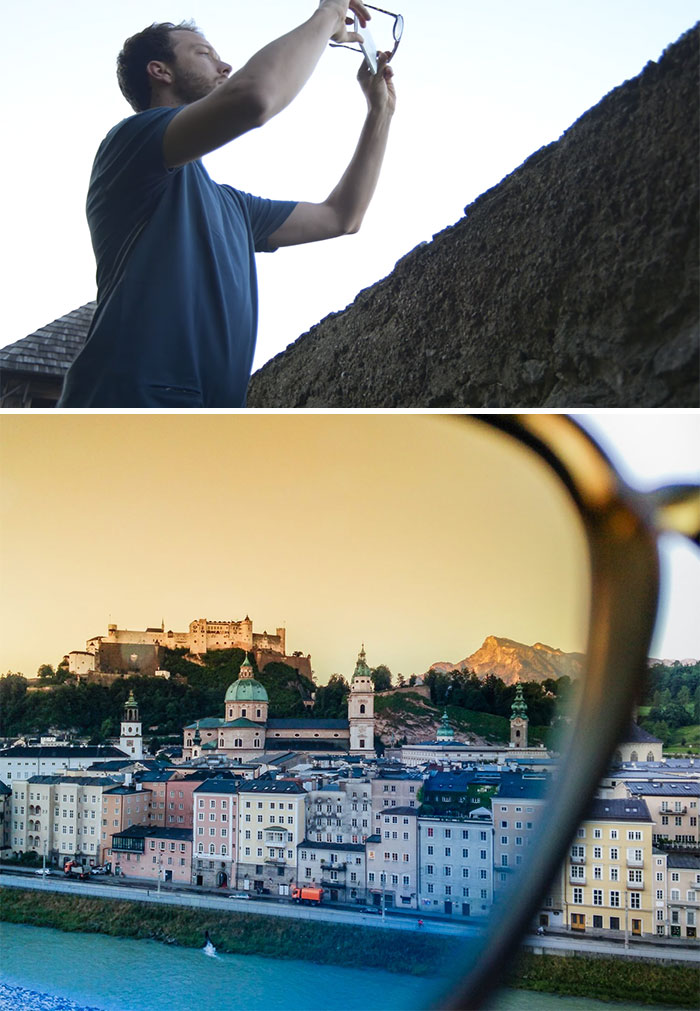
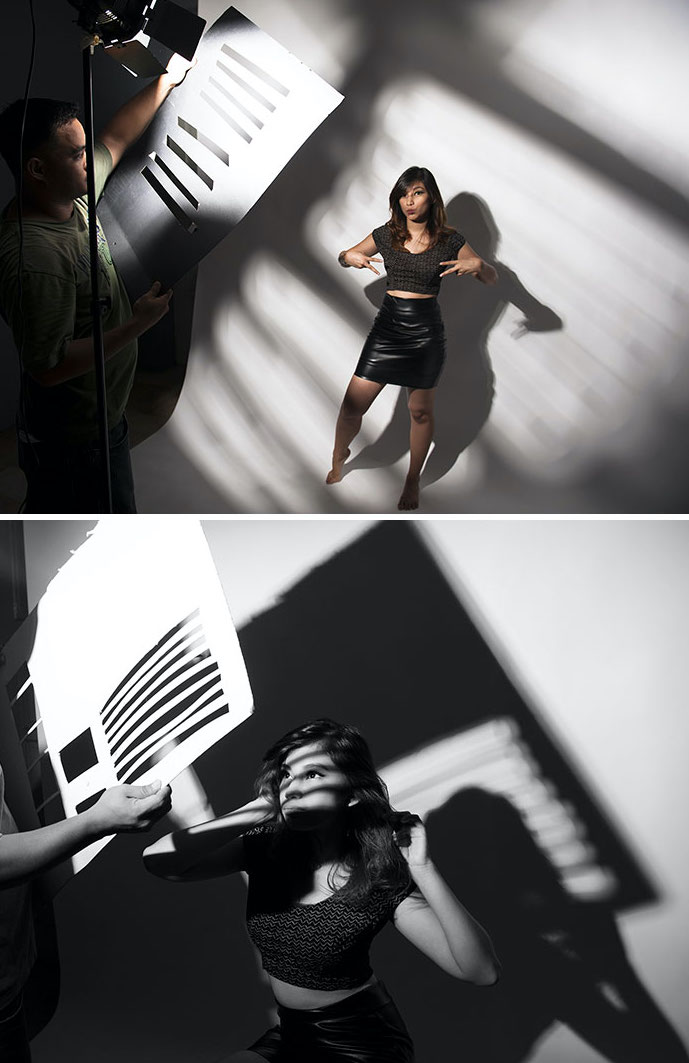
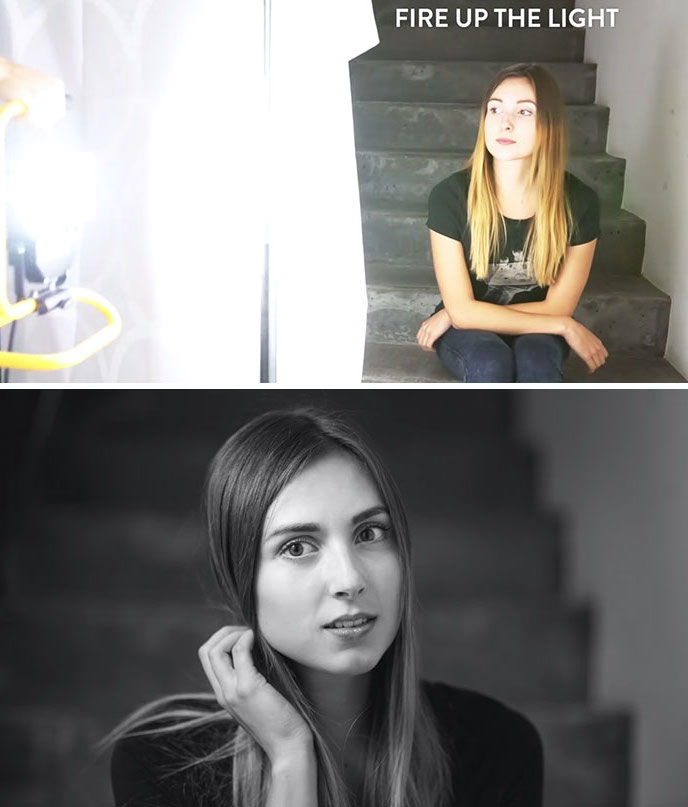
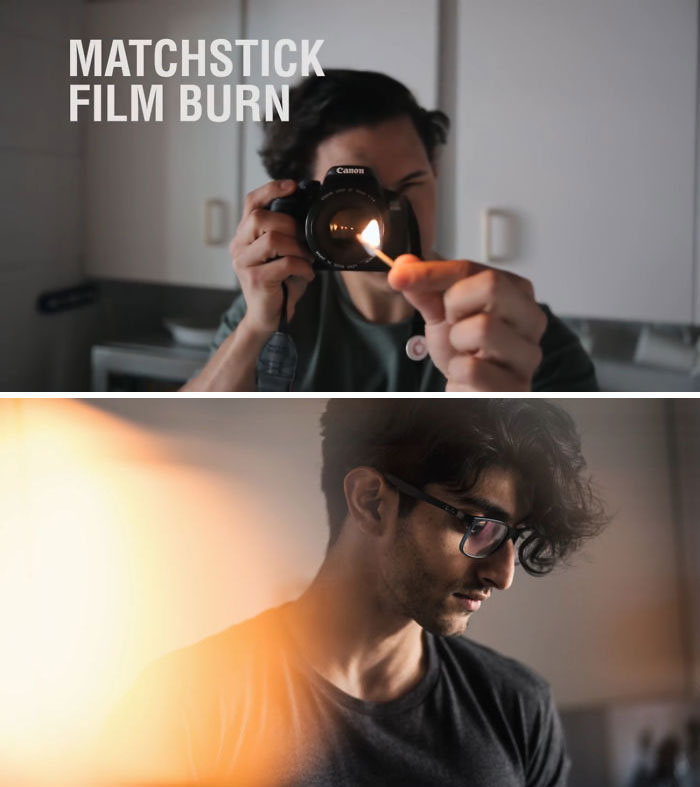
The remote shoot: the photographer
Tour of the house
Start your shoot with a quick tour of the house, so you can see what the light is like in every room, and ask your model for how the light might change (“the blinds give shadows on the wall until 7pm“). Look for windows, curtains, blinds, grill. Maybe there’s terrace with a fence, maybe it’s possible to go on the roof, in the garden …
Make a list of the places you want to use and pick one to start.
Shooting tips
For the photographer, (wireless) headphones will be handy. If possible, try to work on the biggest screen possible, a laptop or external screen are preferable (screenshots will have more pixels). Otherwise it’s just your smart phone/tablet and taking screen shots. As mentioned above, Facetime allows for taking live photos on iPhone instead of screen shots.
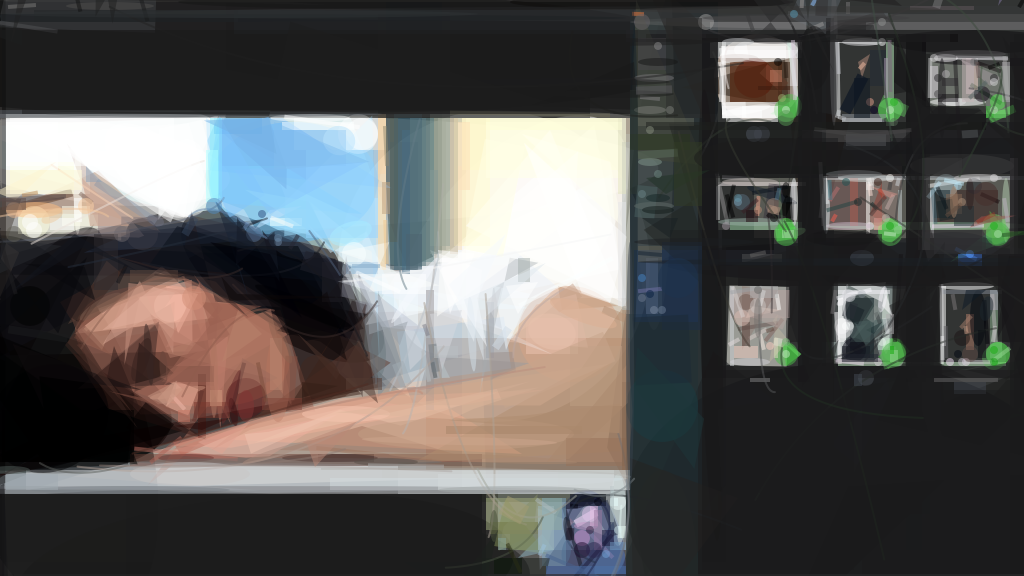 Remote shoot with Messenger on external screen, mood board on the right
Your photos will not really be big enough to allow a lot of cropping, so try to get the frame right in camera.
Using the mood board will help you think of new concepts or poses. It also makes it easier to explain something. “Try to do something like picture #3, but keep your hands on your knee“
Communication: the photographer
You have to use clear wording to describe the pose you have in mind. The ‘left arm’ is her left arm, not yours. Use terms like ‘the leg closest to the camera‘ to avoid confusion. Talk slowly and clearly, don’t lose your patience, and if something is just too hard to accomplish, let it slide. You’re doing a remote shoot, not painting the Sistine Chapel.
Post-processing
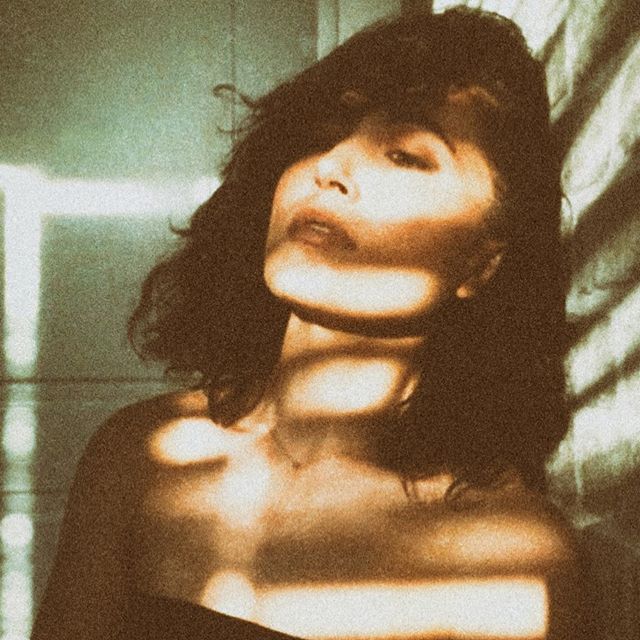
The images you will have taken, are not the usual 20 megapixel photos. You will have only 1 megapixel to work with, and a lot of digital noise. One way to solve this is to embrace the grain, and add some film grain to make the photo look moody/vintage instead of only noisy.
Some more articles:
