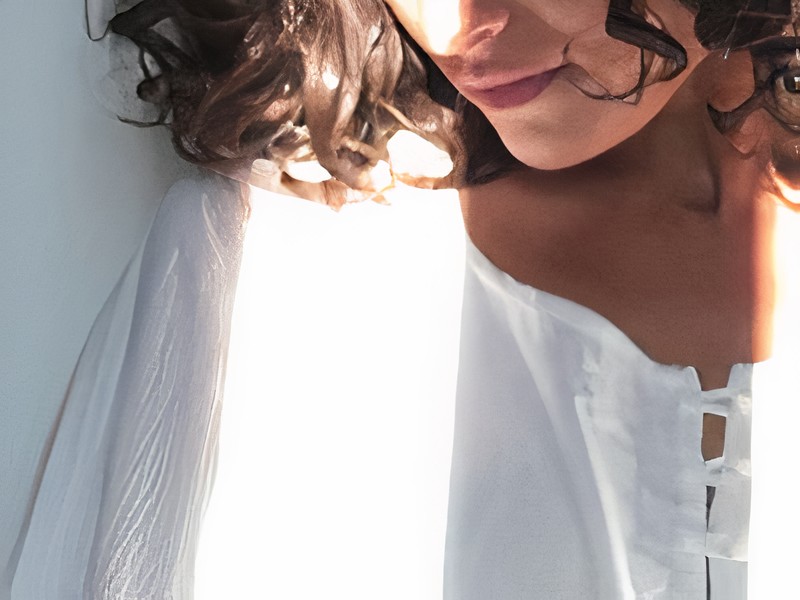
I’ve been doing some remote shoots recently, as the photographer obviously, and I’ve mainly used FaceTime ‘Live photos’ for captures. The result of such a shoot is a series of .HEIC files (it’s an Apple thing). Each file is a combination of a low-res 3-second movie with a mid-res image file. The image file, which is the one that interests me, is a 716×1280 pixels heavily compressed one. This is not a lot of pixels to start with in Lightroom/Photoshop. I found that it is possible to upscale such an image to 400% (2864×5120), and use this new big image to comfortably do the post-processing. Let me show you the best way to upscale low resolution photos to high resolution!
I will take one of the images I shot with FaceTime, and show you a detail and then enlarge it with different methods.
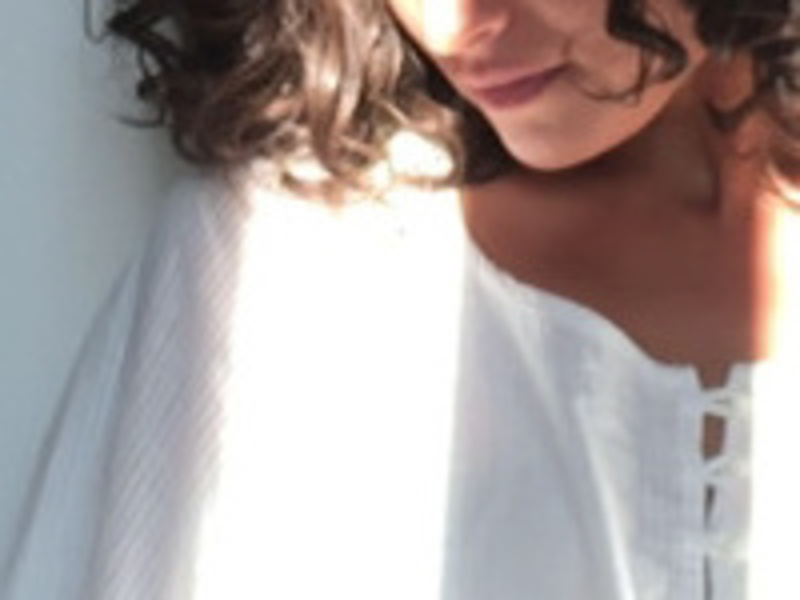
This is the detail of the original image: 400×250 pixels
Method 1: naive magnify
convert [input] -magnify -magnify [output]
The -magnify is not meant to be used with photos. Every pixel becomes a block of 4x4 pixels.
This is the equivalent of using the -resize function with the ‘box’ filter.
A naive -resize in ImageMagick gives a resized file with lots of artefacts/noise.
The border between the white blouse and the skin is a good example of that.
Overall, the image is blurry.
By default the -resize will use the ‘Lanczos’ filter,
but using ‘spline’ or ‘gaussian’ doesn’t give fundamentally different results.
Some documentation recommends using a ‘unsharp’ sharpening filter right after, but again no real improvement.
Topaz Gigapixel AI is a desktop application that uses advanced AI technology
to do better image upscaling. In short, it ‘understands’ what is shown in a photo and what that would look like with more pixels.
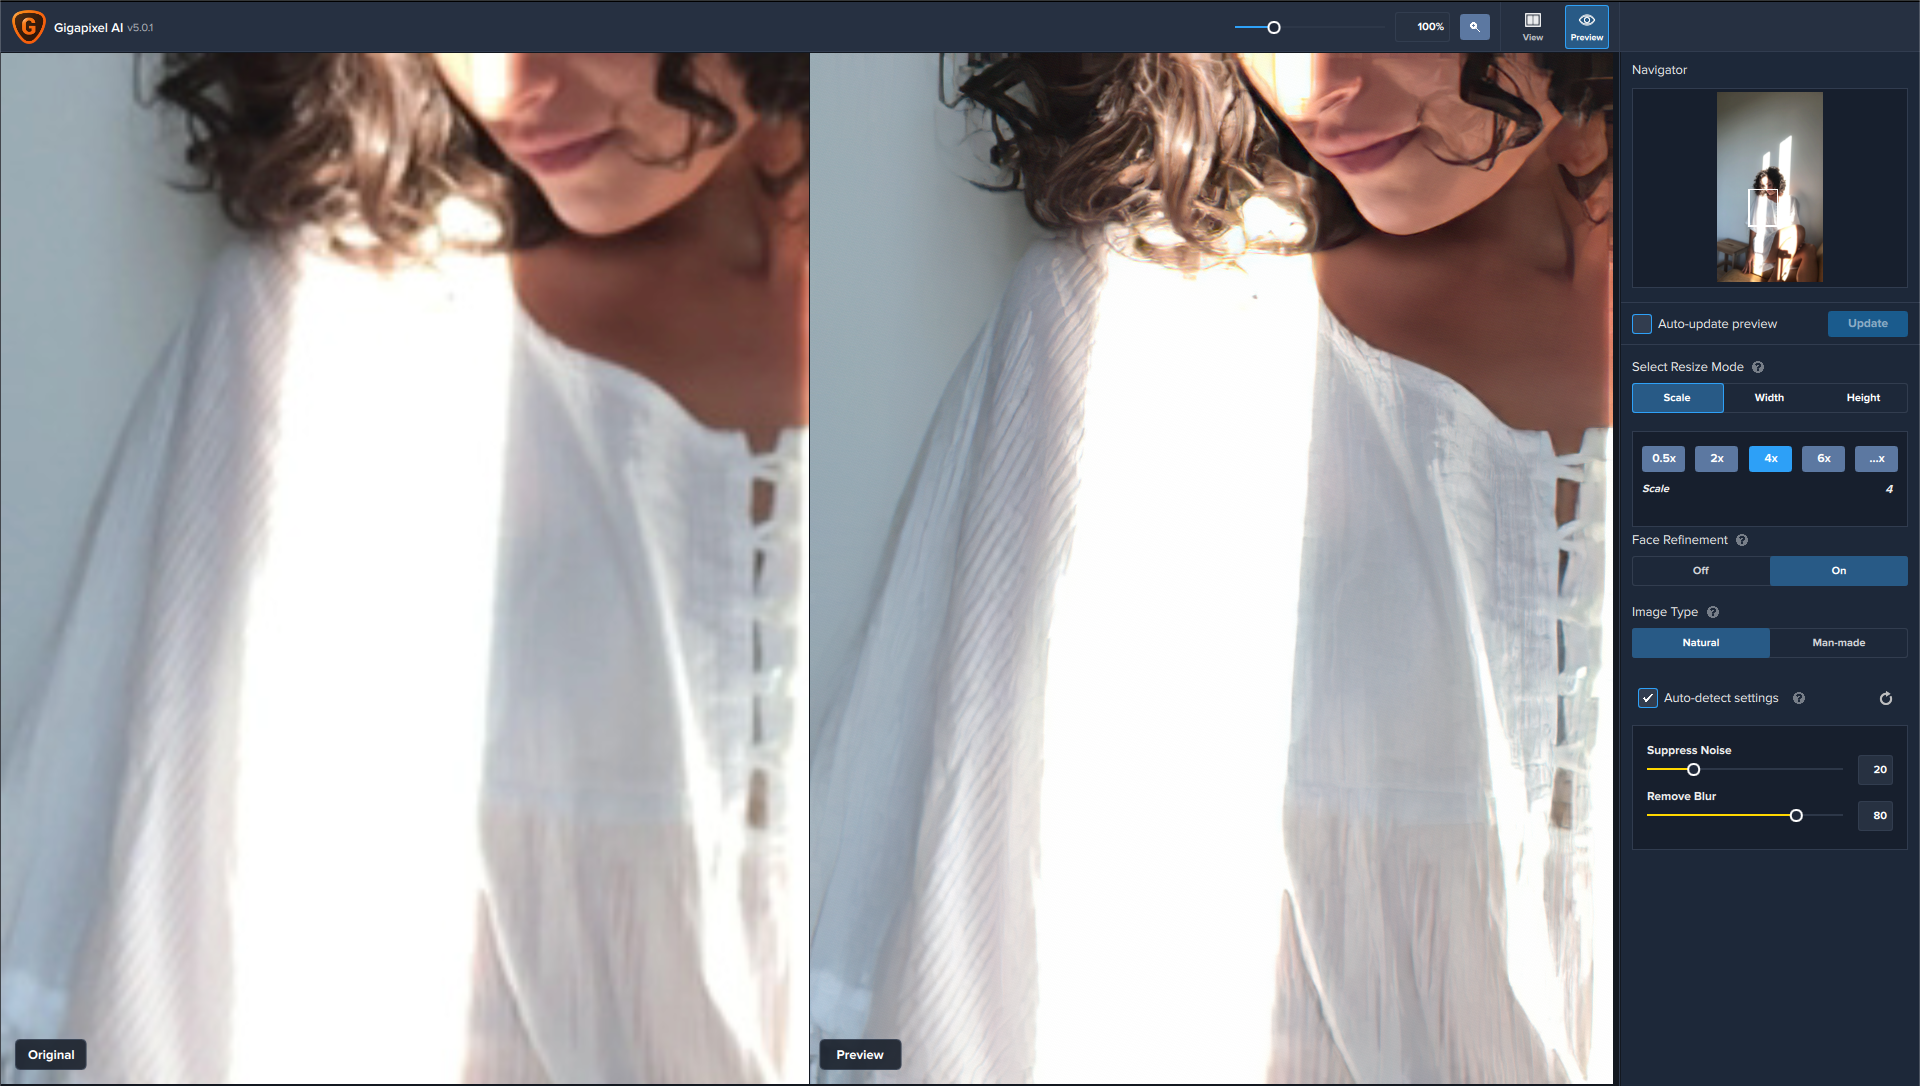
The GUI of Gigapixel AI allows you to compare naive upscale and AI upscale next to each other,
I used the 30-day trial version of the program, and I was quite impressed with the results.
Rounded shapes are much sharper, and the resulting image is crisp, albeit sometimes a bit too artificial to look real.
A 400×400% enlargement took 2-3 minutes on one laptop (with GPU) or 25 minutes on another (without GPU).
Gigapixel AI also does noise removal and smoothing. Sometimes the default settings are a bit too much. Look at her skin, it’s too smooth. The details in the sleeve, on the other hand, seem correct.
Using LetsEnhance.io
LetsEnhance,io uses a cloud model: you upload the original photo, select some options,
start the conversion and download the result some minutes later. Their pricing starts at $9 for 100 photos per month.
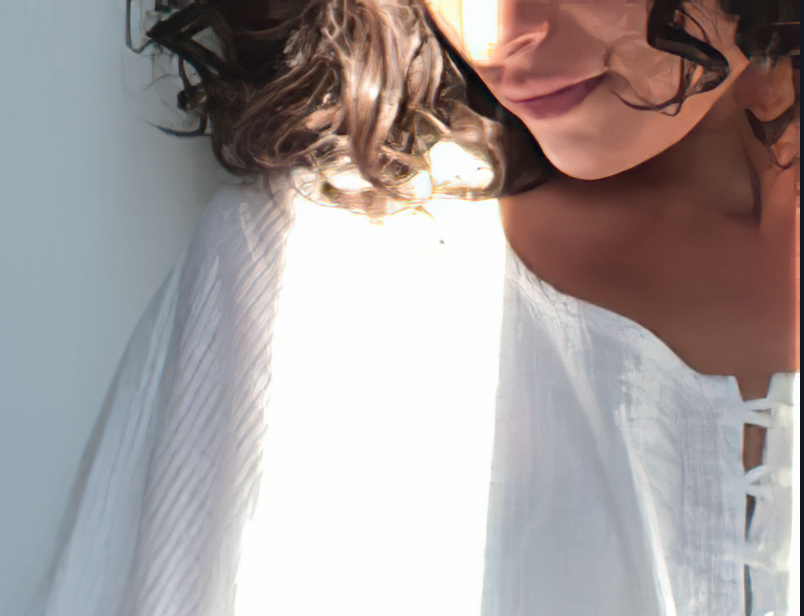
The Photo 2.0 Faces method gave me this:
The skin has more texture, but I’m not sure I find it realistic, it looks too much like color noise, the details in the dress seem OK.
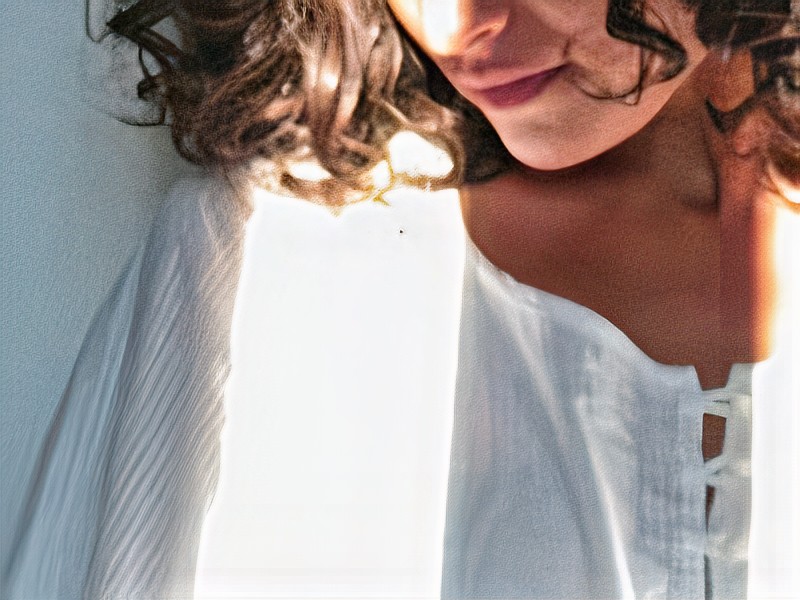
And LetsEnhance’s new Smart Enhance (Beta) gave me this after executing it twice
(since x200% is the maximum for 1 step).
I like what happens with the skin, there is still a bit of texture left. But the details in the dress/sleeve are almost lost.
Conclusion: AI image upscaling works
I find the AI upscale solutions very promising. In the end I went with Gigapixel AI because it was the only interesting solution to convert 100 images in bulk.
PS: I also tried UpscalePics, but the result was bad. The processing time also seemed very short compared to the other AI cloud solutions,_
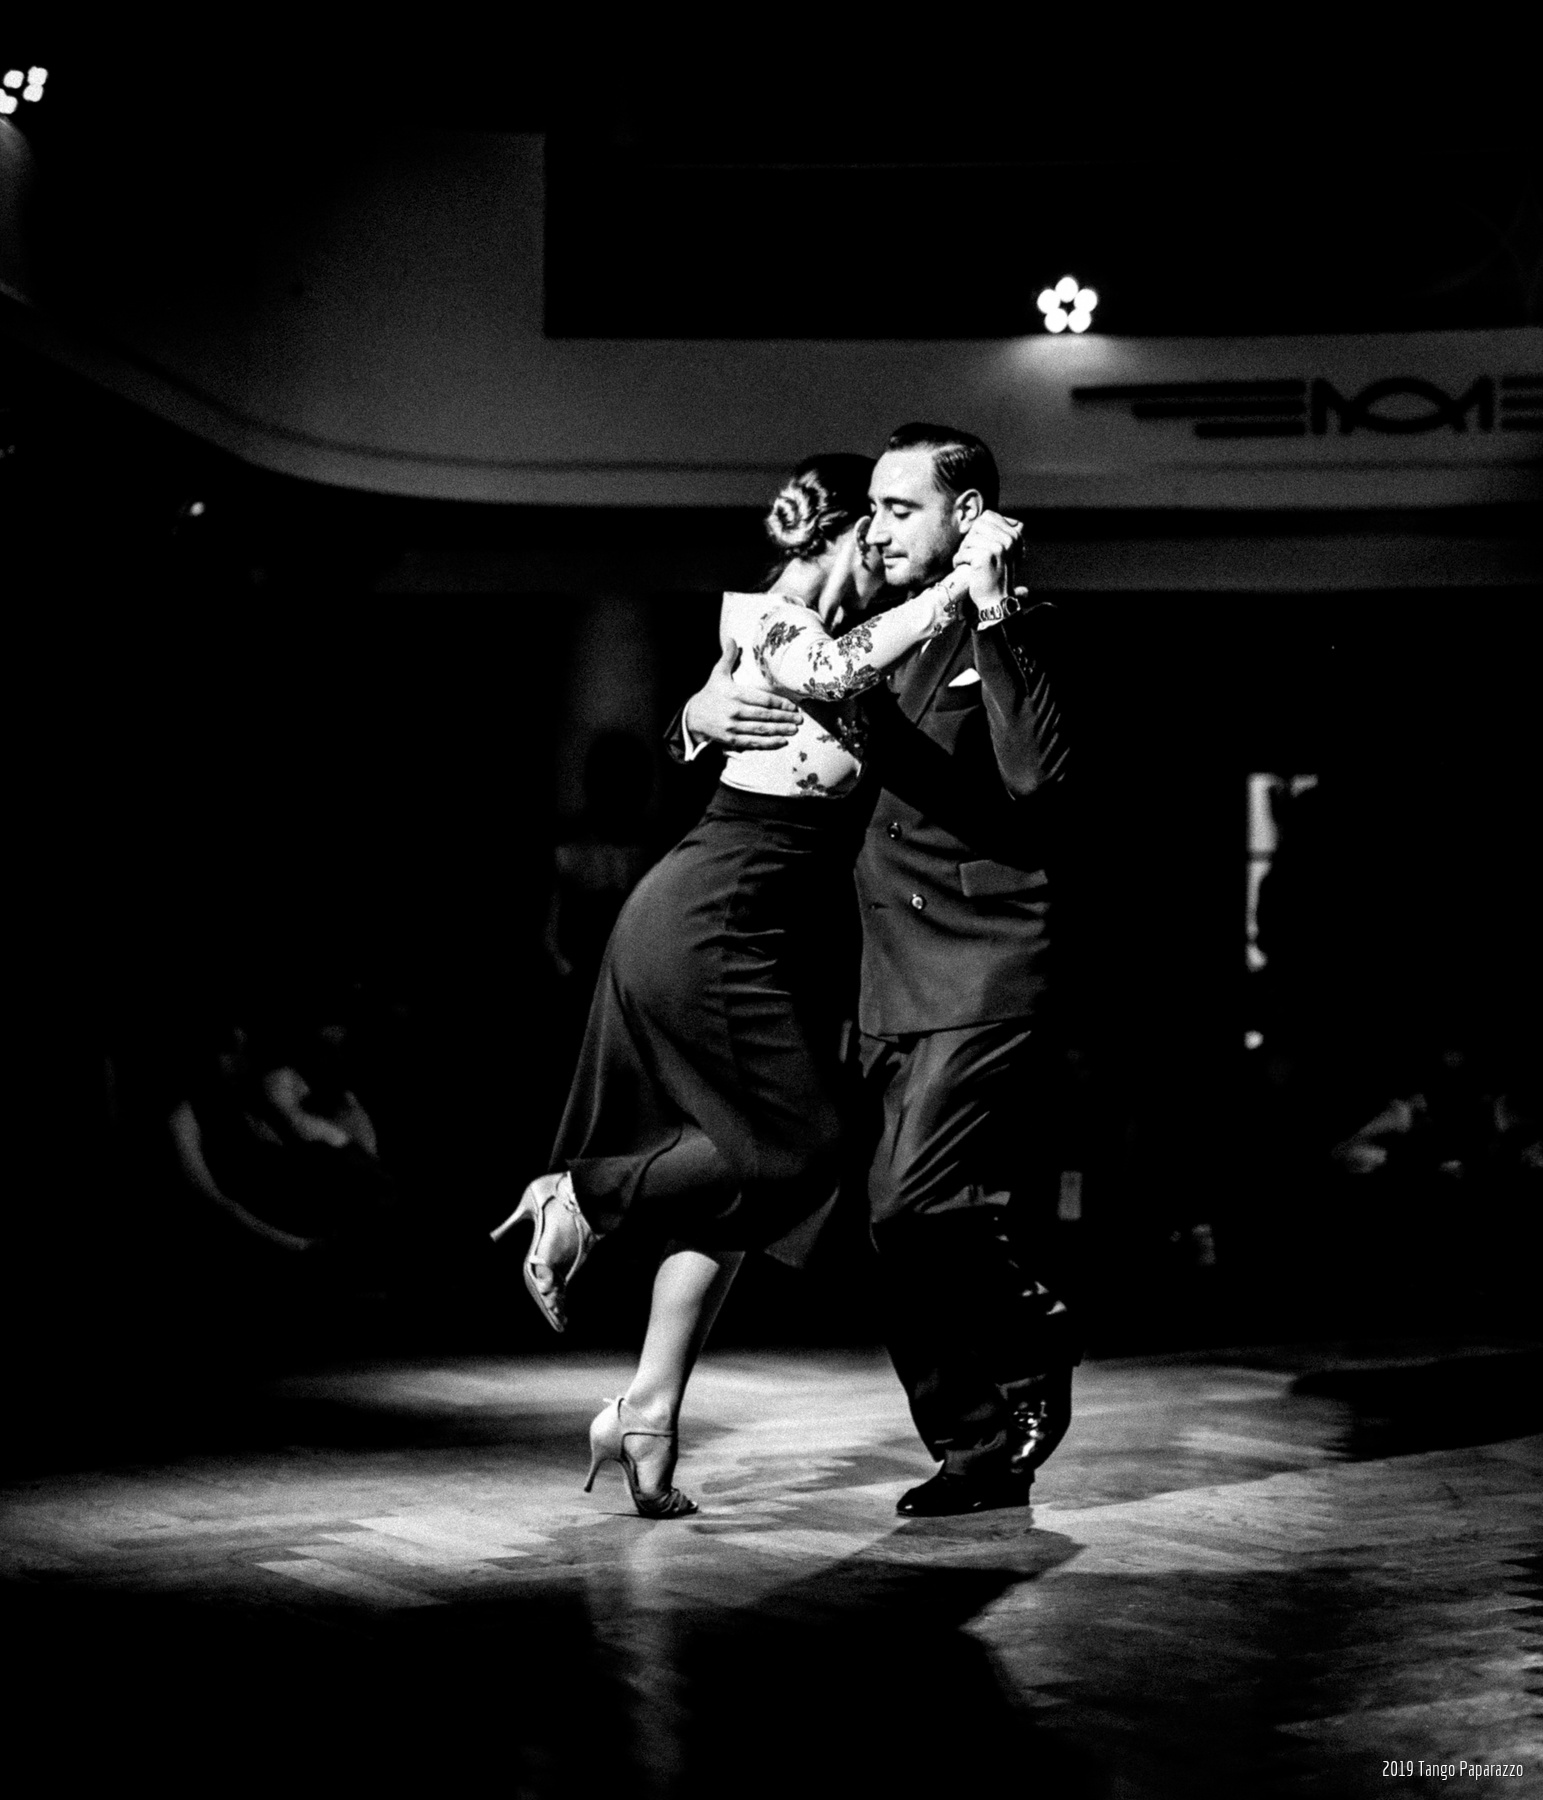
Ten tips to take better low-light photos (dance/event/concert)
• 22 Nov 2019
• One of my most popular posts is Five tips for taking tango pictures in low light. That information is now more than 10 years old. Technology has evolved a lot since then, as have my photography skills. That’s why there is now the update: Ten tips to take better low-light...
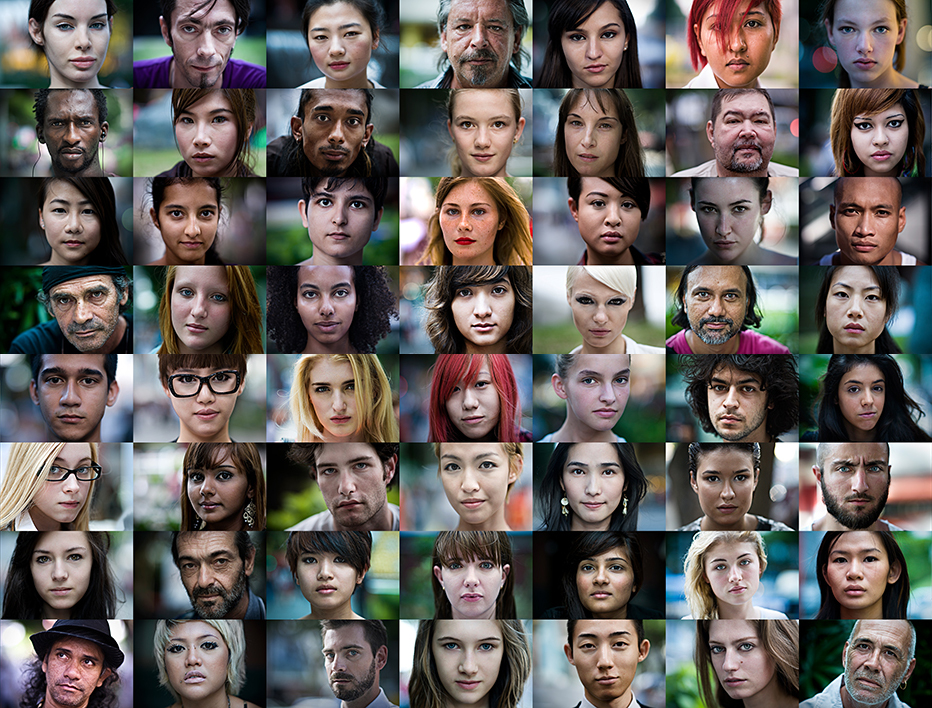
Shooting portraits of strangers
• 13 Jan 2011
• This was quite a discovery: Danny Santos has been shooting portraits of complete strangers on Orchard Road, Singapore. The story was featured on JPG Magazine with some beautiful examples and that post pointed to his Facebook album, which pointed to his blog post about it. This phrase he wrote made...