Photography workflow with Picasa & Flickr
04 Mar 2008I’ve been thinking about writing this for a while, but I always thought everyone would probably work in the same way. But then I got introduced to iPhoto, which I consider a sh*tty piece of software, so apparently not everyone is as spoilt as us PC users. So here it goes: how do I process all the pictures I take, easily a thousand per month?
Step 1: the camera
As you might know, I’m a Canonista, I use a EOS 350D digital SLR. I’ve got two CompactFlash cards of 1GB, of which I use the second one only rarely. I don’t take my photos in RAW format, I use the highest JPEG resolution: 3456 x 2304 pixels or 8 megapixels. On a 1GB card I can get between 250 and 300 pictures.
Step 2: import into Picasa
For my photo processing I use
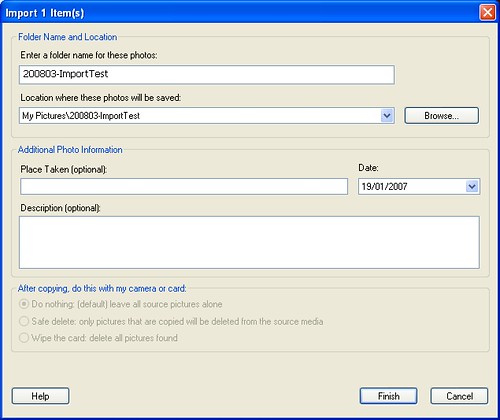
Google’s Picasa. I’ve never been fond of software like Photoshop, although I see other people do great stuff with it. I just don’t have the patience. When I connect my 350D to my PC with USB, Picasa starts up automatically and begins downloading the pictures. After 1- 2 minutes the whole card has been read and the photos are shown as a grid of small thumbnails. I typically select all of them (a “roll” of film, in iPhoto speak) and import them into one folder, which I name “YYYYMM-EventName”. The month-based name makes it easier to archive and clean up afterwards. Picasa then deletes all the imported pictures from the memory card.
Step 3: editing in Picasa
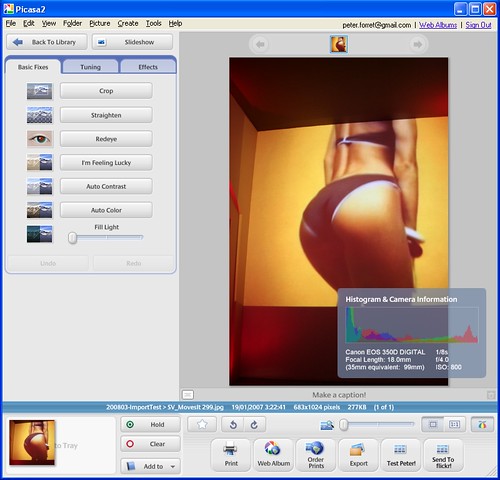
Picasa has three different editing menus. The first one is a simple one with 6 buttons and a slider. The second is a more detailed control of colour and brightness. The last one features 12 ‘common effects’ like conversion to B/W, sepia, saturation control …
The sequence I usually follow is:
- if necessary, I crop the picture. This would be to cut out unwanted elements or to reframe for esthetic reasons, like go from portait to landscape. I usually use the 10×15 format (a.k.a. 3:2 aspect ratio).
It also happens I have to ‘Straighten’ the picture, when vertical lines in the image are clearly not 100% vertical. - I tweak the colours. This might be just a ‘maximize contrast’ (one click) or a more detailed manual ‘Fill light’. The auto-maximize has a tendency to never use ‘Fill light’ (which makes everything lighter) but always ‘Highlights’ (which makes the light parts lighter, but leaves the dark parts dark). This sometimes leads to exaggerated white spots of people’s foreheads, or leaves the face too dark compared to the rest.
To compensate for incandescent or other artificial lighting, I sometimes use the ‘Color Temperature’ slider to bring the red down and the other colours up. - When the colours are not ‘right’ or too distorted from using ISO 800 or higher, I tend to convert to black-and-white, with an optional ‘Sepia’ or ‘Warmify’ afterwards.
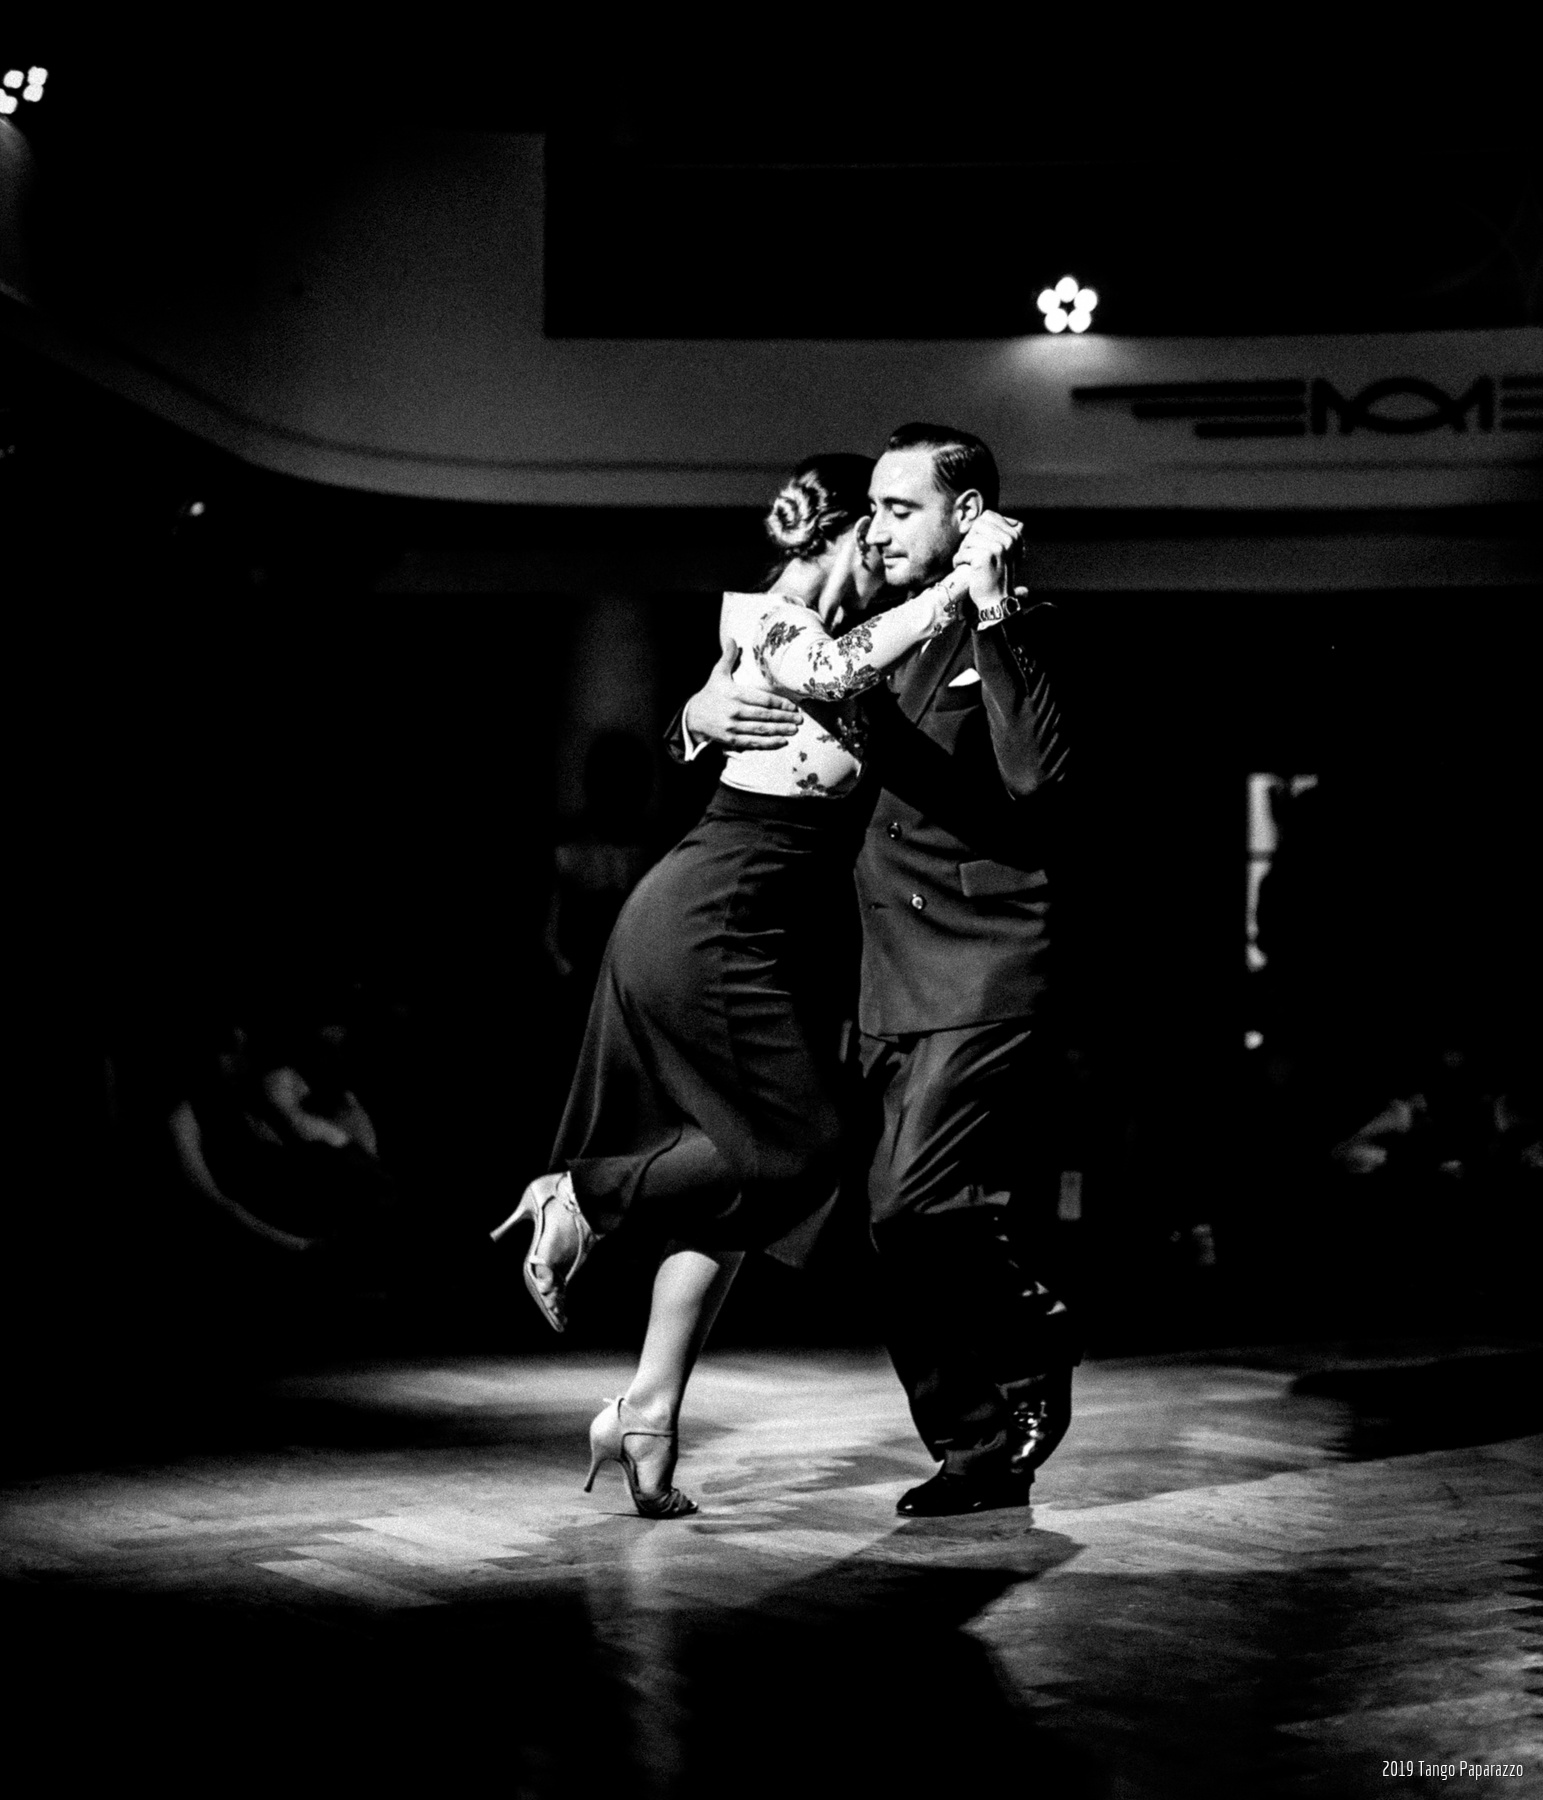
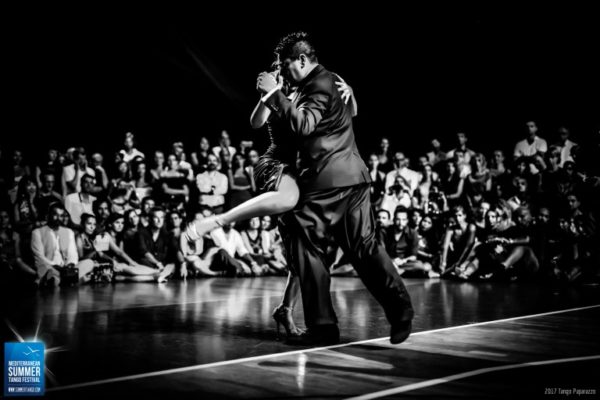
- I’ve also started experimenting with decreasing the saturation. I take a lot of tango pictures, and when there are bright red lights around, the photos are already oversaturated.
When I’m happy with the result of my tweaking, I add the picture to my selection with the ‘Hold’ button. I go through a whole 250-items photo set one by one, selecting which ones to use and doing some corrections, in something between 15 minutes and an hour.
Step 4: Export from Picasa

When the selection/edting phase is finished, I push the ‘Export’ button. Picasa will create a copy of each picture, with all the changes I’ve indicated, but in a smaller format. I typically use the ‘1200’ setting: the longest side is never longer than 1200 pixels. This will give me exported pictures that are smaller than 1MB: they upload faster, but are still big enough to print if one wants to. Picasa will put these exported pictures in a separate folder under My PicturesPicasa Exports.
Step 5: upload to Flickr

When the export is finished, Picasa will pop up the new folder. I select all the images and right-click on ‘Send to Flickr …’. I have used both the Flickr Uploadr v2 and v3, and while the version 3 is more flexible, it sometimes doesn’t work, and the version 2 always works. So, for version 2, I add the tags that will be added to each picture and press ‘Finish’. When the Uploadr is finished, it will give me the option to go to the Flickr website and change titles, descriptions and tags for each picture.
Step 6: archiving and cleaning up
Every month I move all originals older than 1 month to external storage. I’m currently at > 100GB in photos, so you can see why that’s necessary. The Picasa Exports folder I only clean up once a year. For every 1GB of originals, I only generate 25-50MB of exported pictures, so I don’t mind if they linger around a bit longer.
This, in short, is how I process my pictures. Picasa is quite intuitive, so I never really had to read any manual to figure this out. However, good luck trying to do this in iPhoto. My sister gave up on Flickr because she always uploaded the 3MB originals and when I tried to figure out how to select and resize a number of pictures in her iPhoto, I gave up after 1/2 hour. iPhoto is not a workflow tool, it is a simple photo editor.
