Using Homebrew on Apple Silicon M1 natively (bash)
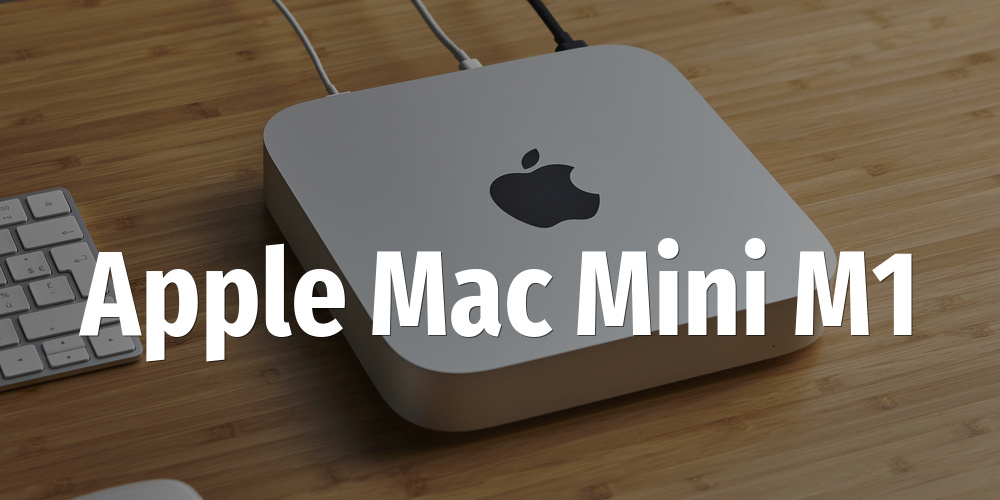
19 Dec 2020After reading all the raving reviews online about the new Apple M1-based Mac computers, and after losing too much time with my overheating MacBook Pro 2013 that’s on its last legs, I caved and bought a Mac Mini M1.

☑️ Apple 30″ Cinema display (2013)
I made the mistake of thinking that any USB hub with a Mini Displayport connector would work with my Cinema display. But apparently, not all such ports are also Thunderbolt 2, as I found out with my Satechi hub.. Fortunately, Apple sells a 55 euro Thunderbolt 3 (with USB-C connector) to Thunderbolt 2 (with mini Displayport connector), and it works perfectly. This already takes 1 of the 2 USB-C ports on the Mac Mini.

☑️ Homebrew in native mode
I do a lot of bash/script development so my first concern was getting all of my bash scripts working on the new ARM architecture. I concentrated on bash/terminal in native arm64 mode, which means not running under Rosetta2. This because I want to benchmark in native mode, and I kind of assume that under Rosetta 2 everything works that worked under MacOS for Intel, and where’s the fun in that?
For that, I needed to get the Homebrew package manager running in native mode. The thing is, Homebrew does not yet support the new Apple Silicon M1 chip (they only started the first steps in Dec 2020), so you have to dodge all the warnings they throw at you. After some research, I found the best way to do it, and I combined all of it in an easy install/uninstall bash script:** https://github.com/pforret/m1_homebrew** It installs the command-line tools and Homebrew to /opt/homebrew for arm64 mode, and to /usr/local for standard i386 mode.
Running it is as easy as:
$ m1_homebrew install
Program: m1_homebrew.sh 1.3.0
✔  MacOS version = 11.1
✔  Script running in arm64 mode
Are you sure you want to install Homebrew for arm64 to /opt/homebrew? [y/N] Y
…  Create folder for [/opt/homebrew] Homebrew ...
…  Download Homebrew into [/Users/pforret/.homebrew] ...
✔  After download: Homebrew folder is 15 MB
✔  After update  : Homebrew folder is 64 MB
✔  After install : Homebrew folder is 463 MB
…  Move Homebrew files to /opt/homebrew
Create folder share/zshet/.homebrew/SECURITY.md ...
Create folder share/zsh/site-functions
Create folder Caskroom
✔  All files moved to /opt/homebrew
HOMEBREW_VERSION: 2.7.0-24-g53ef74f
Script finished after 84 seconds
🤞 brew install –build-from-source
After installation, running brew install will give you warnings and will often not be able to install the packages, because there are no pre-built casks for Apple Silicon yet.
Warning: You are running macOS on a arm64 CPU architecture.
We do not provide support for this (yet).
Reinstall Homebrew under Rosetta 2 until we support it.
You will encounter build failures with some formulae.
Please create pull requests instead of asking for help on Homebrew's GitHub, Twitter or any other official channels.
You are responsible for resolving any issues you experience while you are running this unsupported configuration.
Still, you can tell brew to install from source code, and compile on your machine by using brew install --build-from-source (or shorter: brew install -s). For small packages like awk, this will do the job. For large packages with lots of dependencies like ffmpeg, brew will stop for lack of bottles.
Error: [some package]: no bottle available!
You can try to install from source with e.g.
brew install --build-from-source [some package]
☑️ native imagemagick
My first big package to install was imagemagick. It’s my go-to tool for image manipulation and part of many of my scripts like e.g. splashmark. Imagemagick has lots of brew dependencies for treating different kinds of files, like libpng, openjpeg, webp and ghostscript. Every time brew requires a package that isn’t installed yet, it stops with the error mentioned above. You then have to build that package separately and try the original brew install again. This is how I got imagemagick compiled in the end.
☑️ m1_homebrew recursive
I automated this process in the same script m1_homebrew.sh. m1_homebrew recursive imagemagick first looks for all the dependent packages (via brew info), installs those first one by one and then, at the end, installs the main package. It can take a long time but it’s magic when it works.
😥 no native ffmpeg
Unfortunately, it doesn’t always work. I tried it for ffmpeg, but this package requires some dependencies that will not build on MacOS M1 for now. Concretely: rust and openjdk cannot be built yet, and ffmpeg requires them.
- rust: hangs on “
arch -x86_64 make” which implies that it’s building a x86_64 (Intel) version instead of a arm64 native version, - openjdk: “configure: The tested number of bits in the target (64) differs from the number of bits expected to be found in the target (32)“
They are both still marked as ⚠️ on the official Homebrew M1 compatibility list.


