Some more professional users of the new M1 Macbooks are experiencing extremely high drive writes over relatively short time.
The most severe cases have “consumed” about 10-13% of the maximum warrantable TBW (Total Bytes Written) value of the SSDs (given their capacity & using values for equivalent market-available NVMe drives).
One of the projects I started during the lockdown is @squaredforwork
which is now named “Guess the movie?” .
It is based on years of experimenting with image manipulation and information reduction.
Basically: how much visual information do you need to recognise a (familiar) image?
I mostly worked with movie posters, since those are often universally recognisable images.
Some examples of earlier tests might give you an idea (working with large square pixels here:
Pixel Movie Quiz):
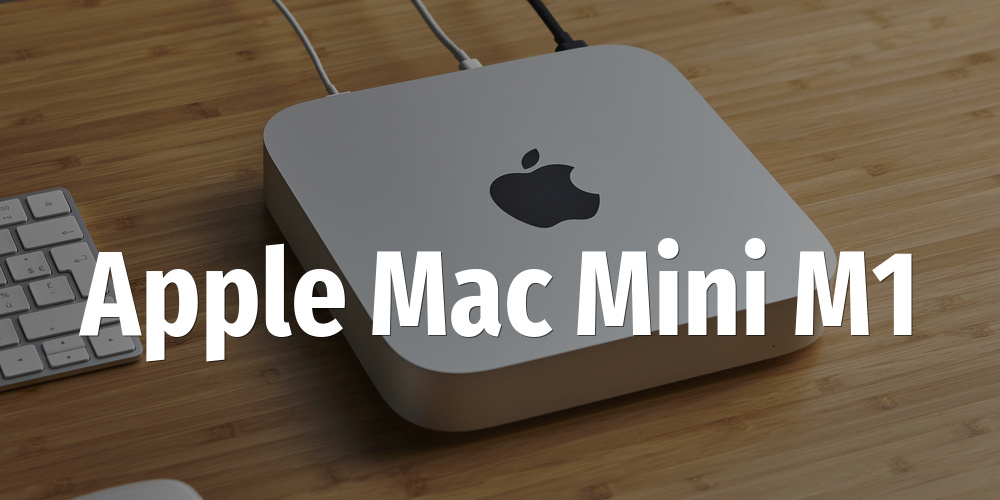
When I started working with my Mac Mini M1, I felt it was faster, but I couldn’t really compare with a proper benchmark. I work a lot with video so I created an Apple (M1 and older) benchmark that is focused on CPU-heavy video programs: ffmpeg and primitive.
After reading all the raving reviews online about the new Apple M1-based Mac computers, and after losing too much time with my overheating MacBook Pro 2013 that’s on its last legs, I caved and bought a Mac Mini M1.
I’m developing a new service and I’ve decided to go all-in on Laravel. Not only am I developing the application in Laravel, and using ready-made components like Laravel Spark (SaaS user management and payment) and Spatie Mailcoach (mailing server), I also deploy to DigitalOcean with Laravel Forge. At 12$/month (for the ‘Hobby’ plan), even if it saves me only 15 minutes of time every month, that’s already worth it.
When you’re creating software packages that will be used by other people, you need to get your versioning in order. For PHP libraries, this means: both the version number in composer.json as well as the git tag for Github/Bitbucket. For node.js projects, the version is kept by npm in package.json. It was always too easy to make small mistakes. So I decided to make a bash script <strong>semver.sh</strong> to manage it for me.
I’ve been doing some remote shoots recently, as the photographer obviously, and I’ve mainly used FaceTime ‘Live photos’ for captures. The result of such a shoot is a series of .HEIC files (it’s an Apple thing). Each file is a combination of a low-res 3-second movie with a mid-res image file. The image file, which is the one that interests me, is a 716×1280 pixels heavily compressed one. This is not a lot of pixels to start with in Lightroom/Photoshop. I found that it is possible to upscale such an image to 400% (2864×5120), and use this new big image to comfortably do the post-processing. Let me show you the best way to upscale low resolution photos to high resolution!
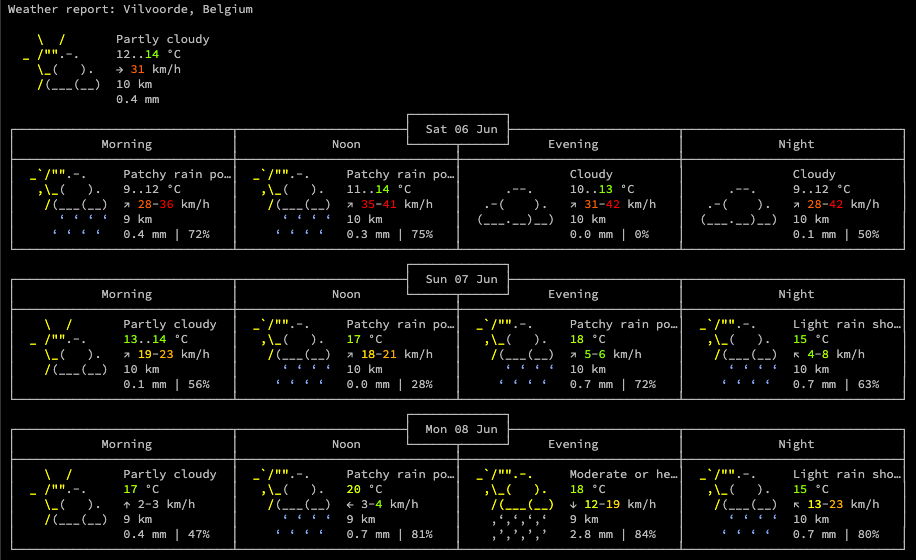
I spend a lot of my day in a terminal window, and I love automating stuff with bash scripts. Sometimes those scripts need to do perform actions based on external conditions: location (country), weather, bandwidth speed …